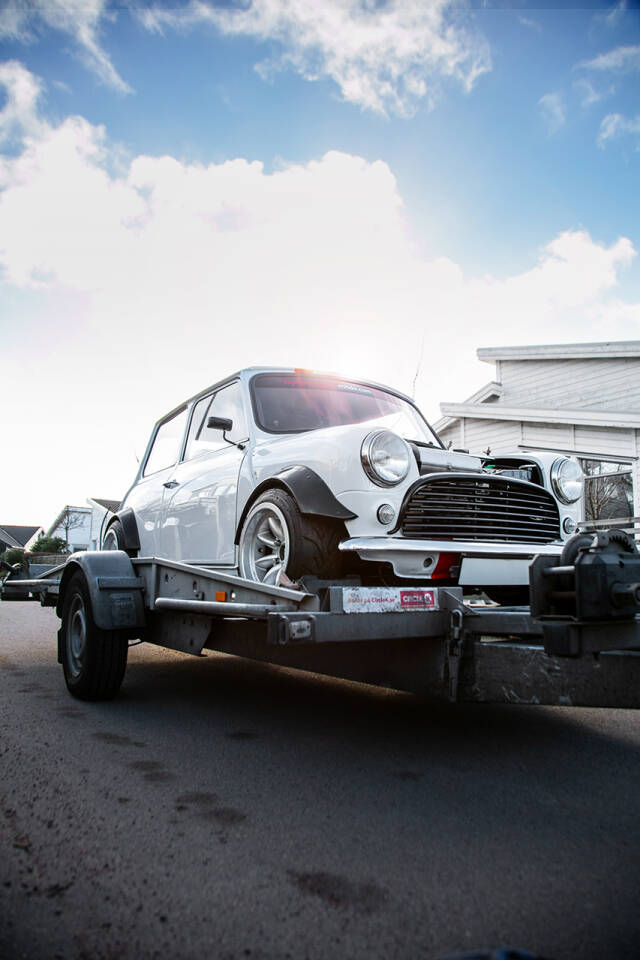
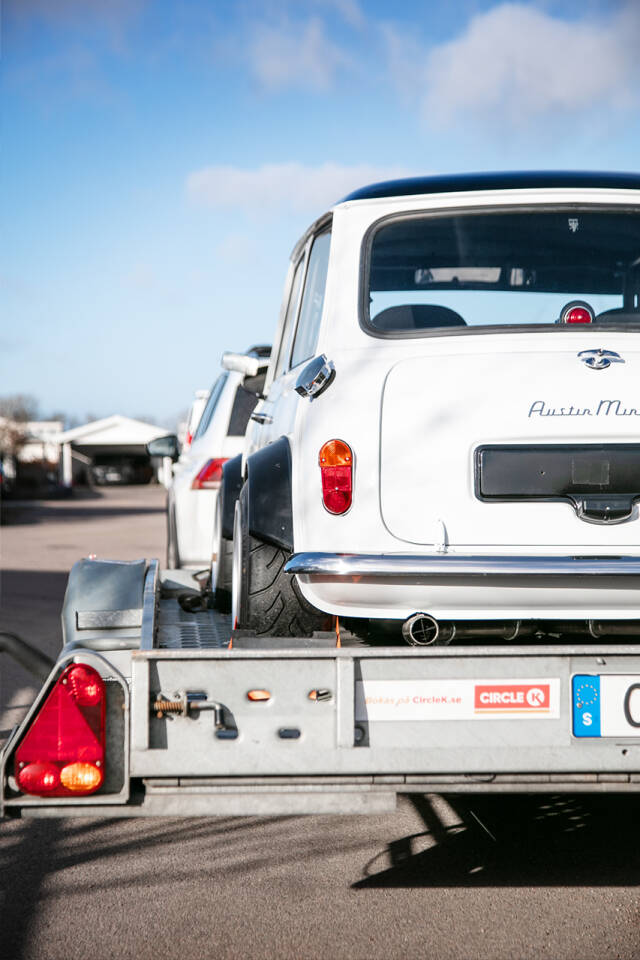
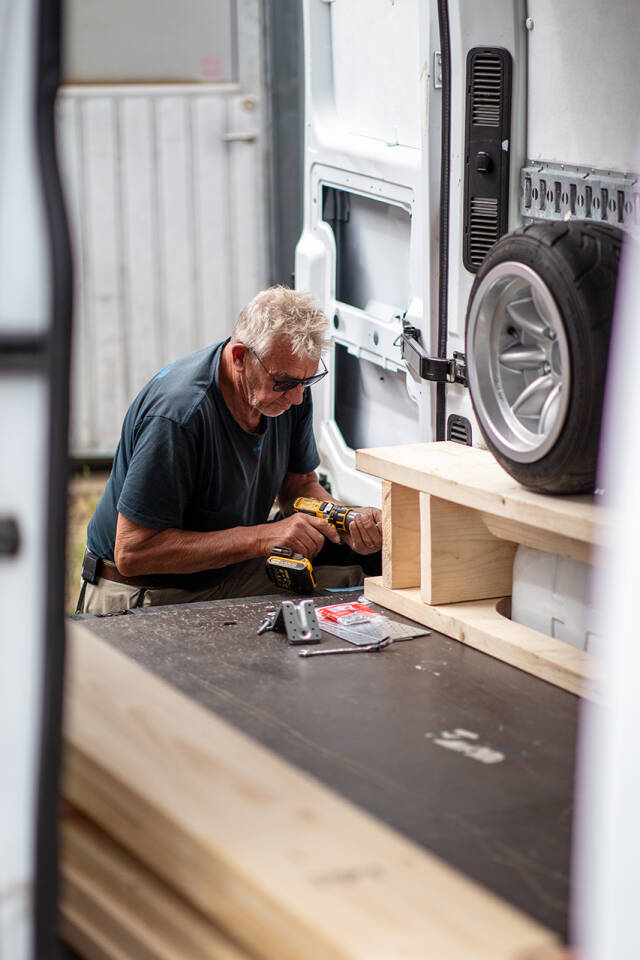
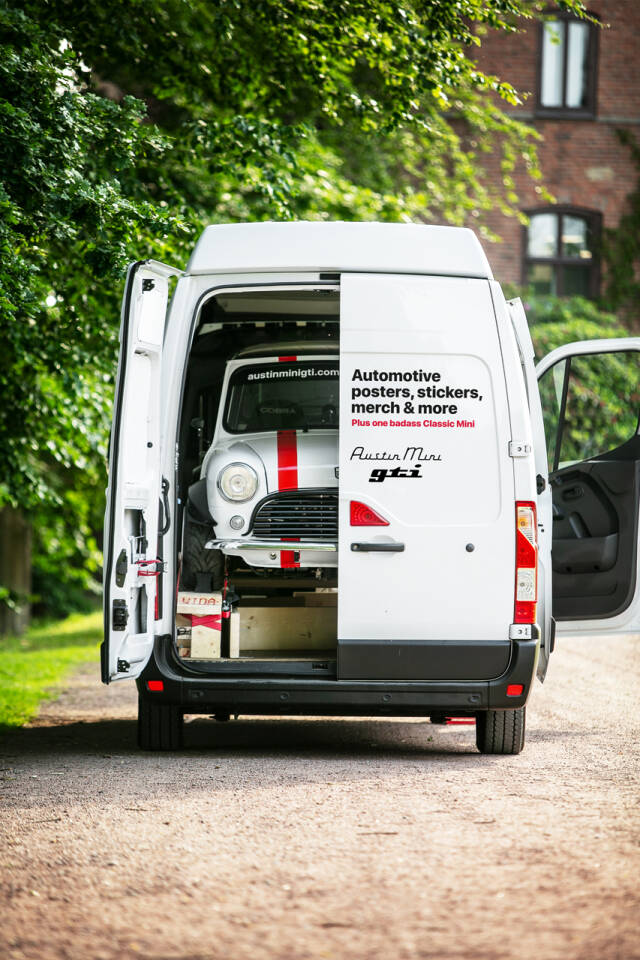
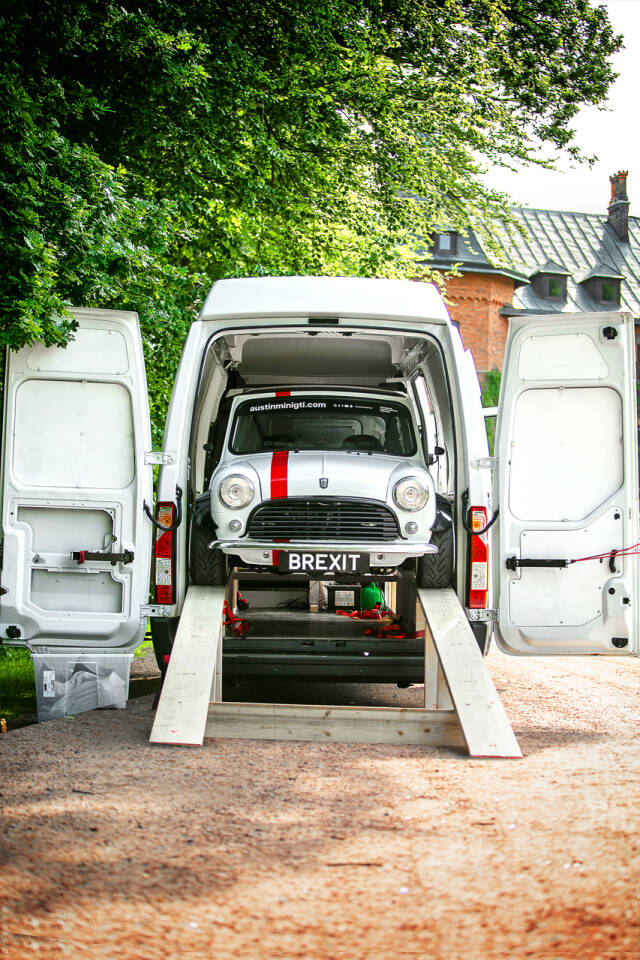
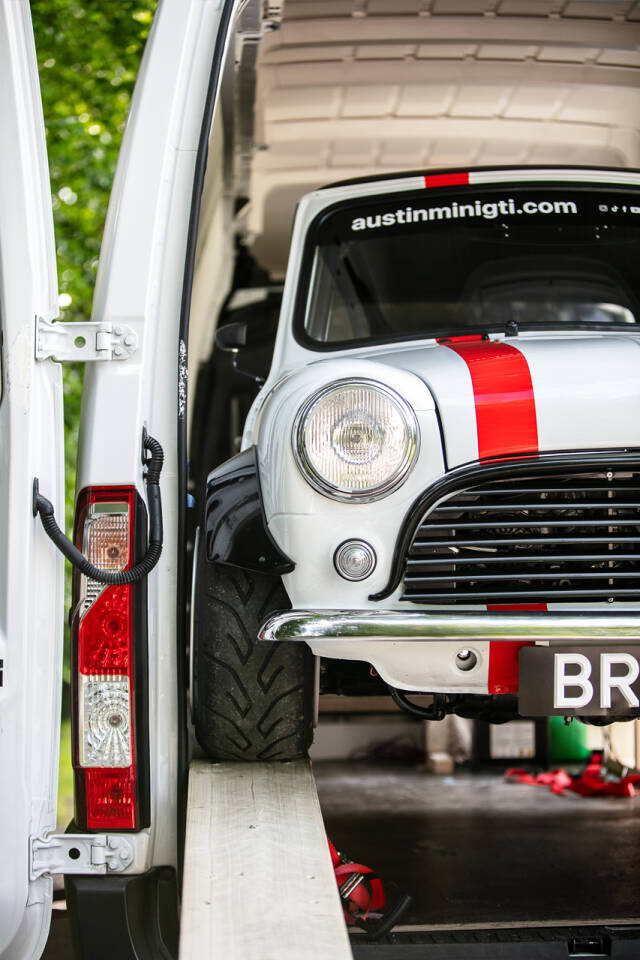
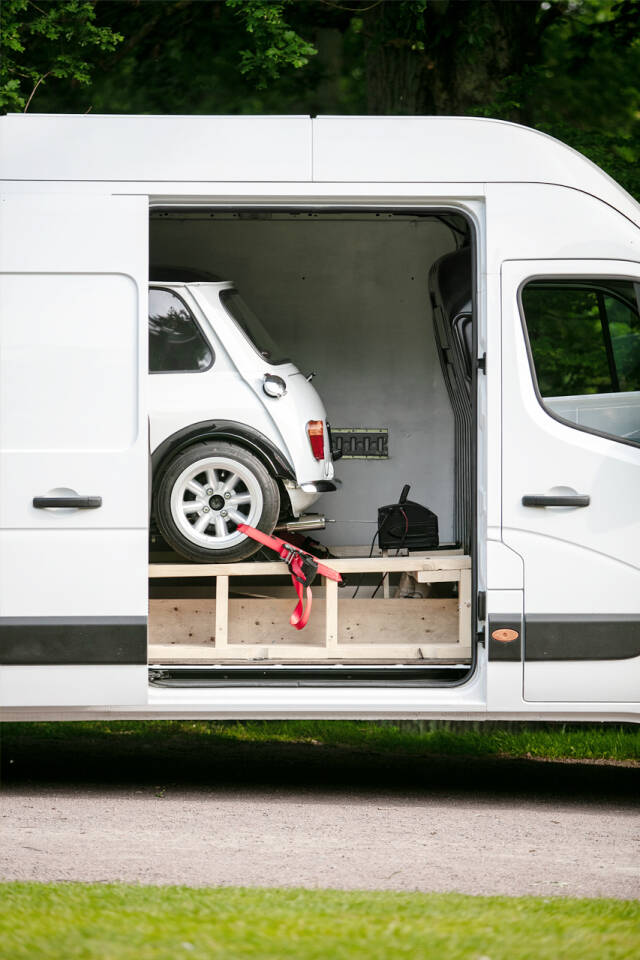
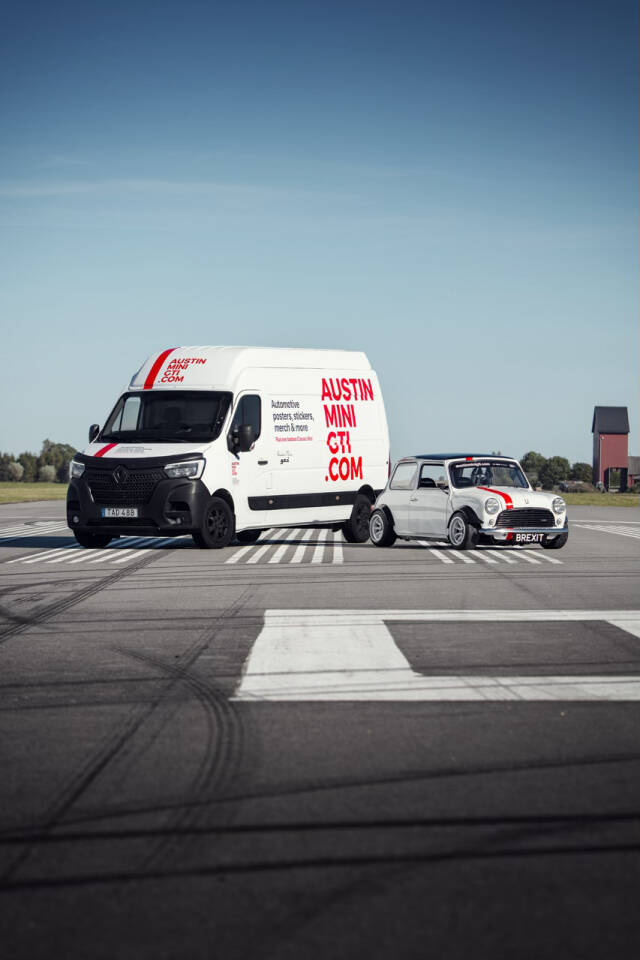
Nämen, nu skrivs det minsann ett inlägg igen! Jag kan ju inte låta er hållas i ovisshet alltför länge sett till min cliffhanger från föregående inlägg. Mycket riktigt, nu kommer fortsättningen. Vad hände på Vallåkraträffen? Inte mycket, men samtidigt hur mycket som helst! Väl på plats så plockade jag ut de nymålade svarta ramperna och tänkte ställa ut både skåpbil och Minin som en kombo, men arrangören dök upp och sa att det var en big no-no. De ville endast ha entusiastbilar på Show 'n Shine area. Jag förstår dem, men visst, hade det inte varit häftigare ifall min Mini stått halvvägs ut på rampen, bara för att visa att en liten hundkoja får plats i en skåpbil, dessutom maxbreddad sådan?
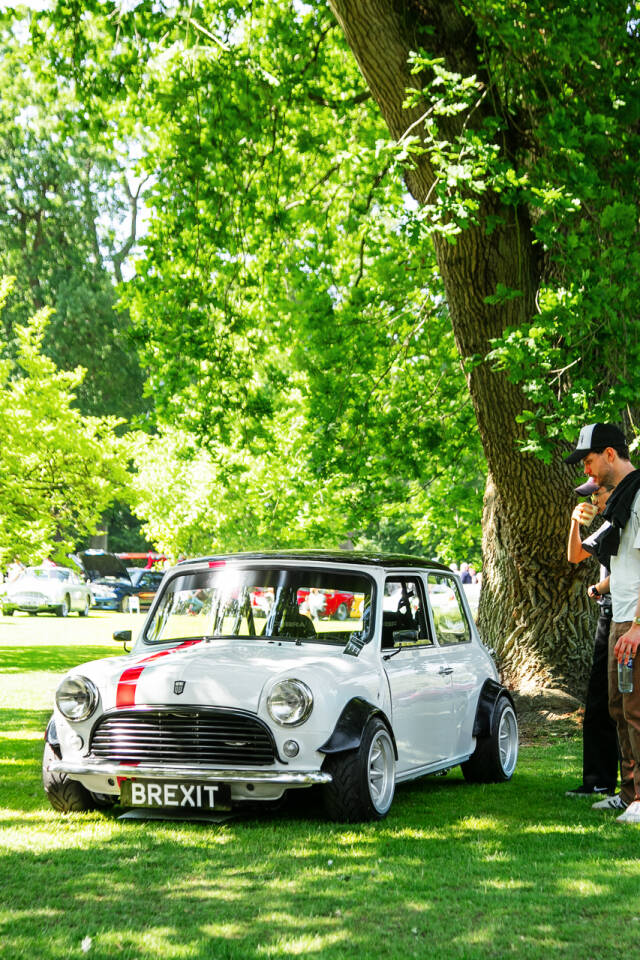
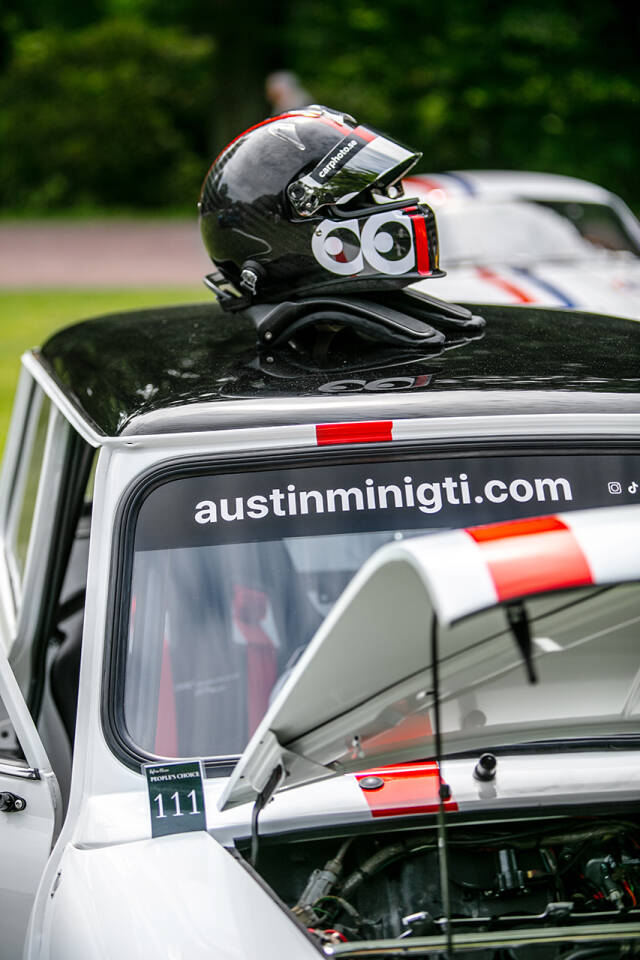
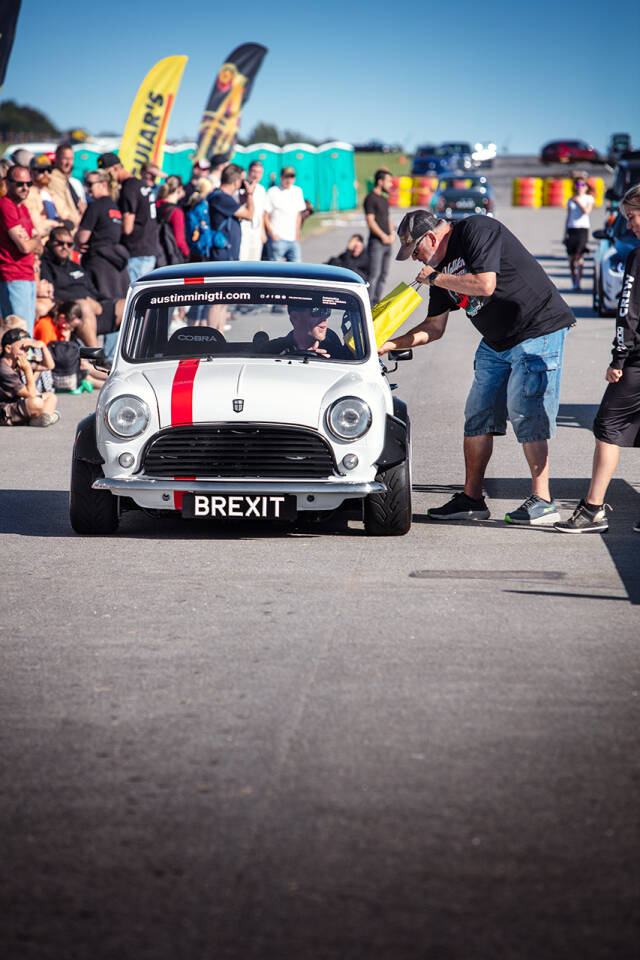
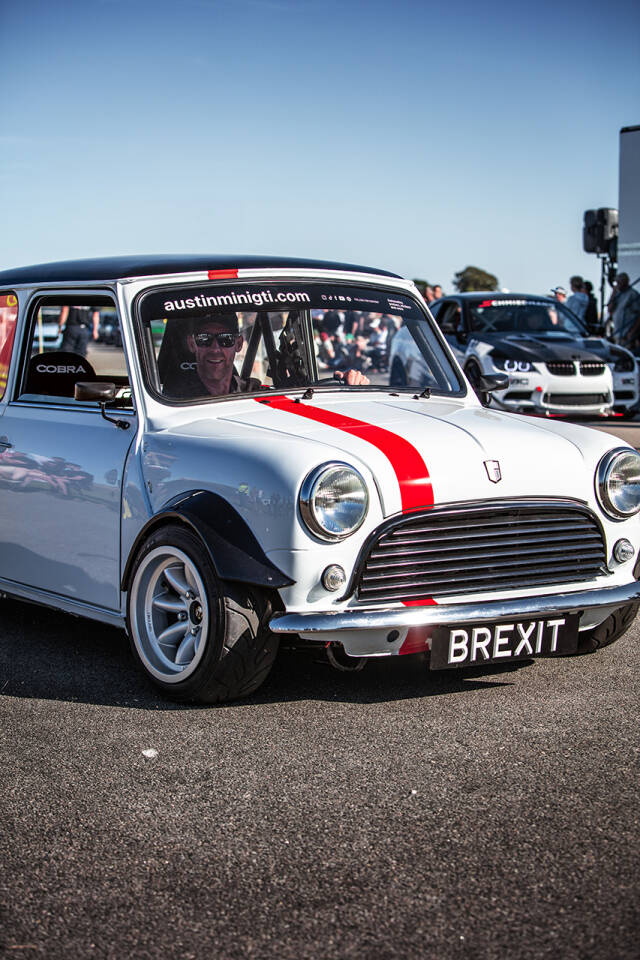
Jag rullade ut den på flygrakan och startade upp den lilla bilen - och nog fick den stor uppmärksamhet redan då av andra utställare. Huvuden vreds, öron spetsades, ögon blev nyfiket stora. Och den upplevs verkligen på det sätt som jag skrev i ett av mina filminlägg på både Instagram och TikTok - Mini size, maximum sound!
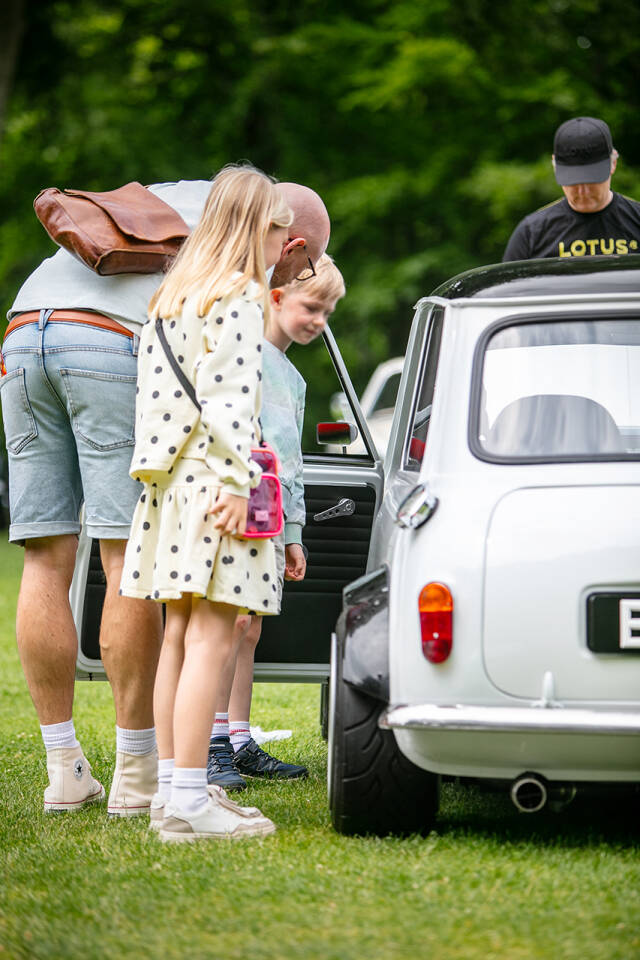
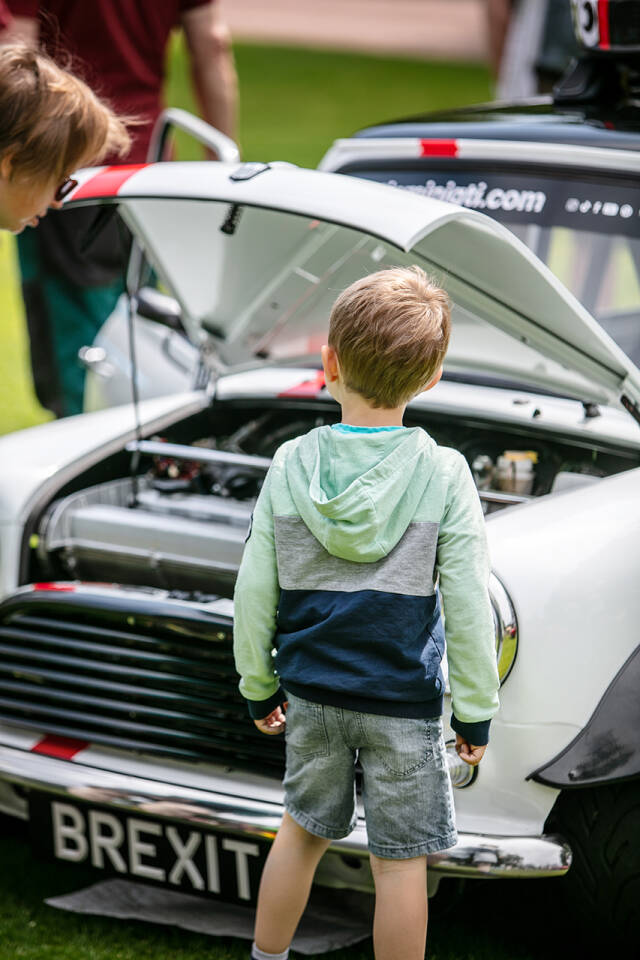
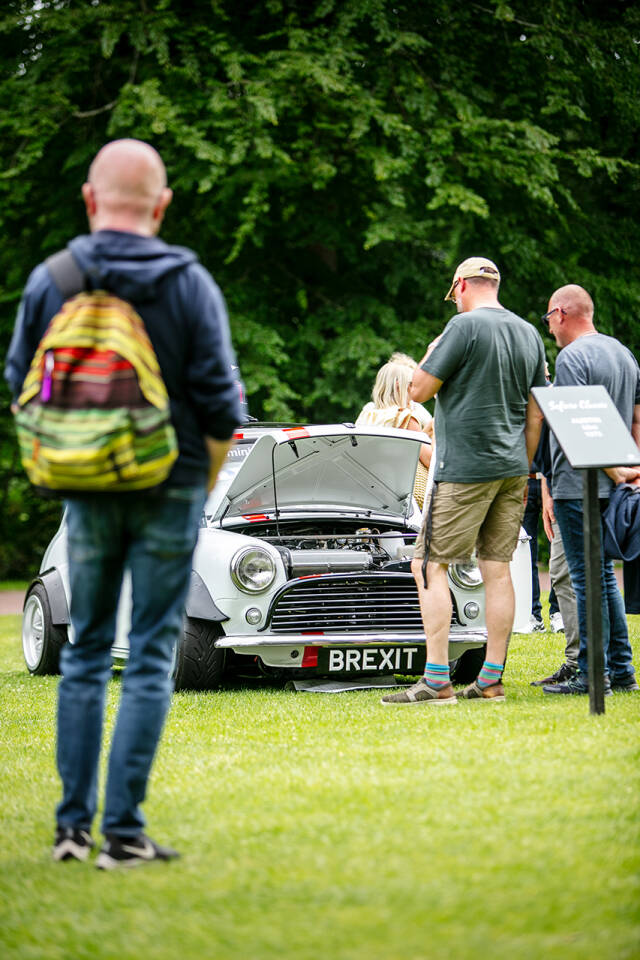
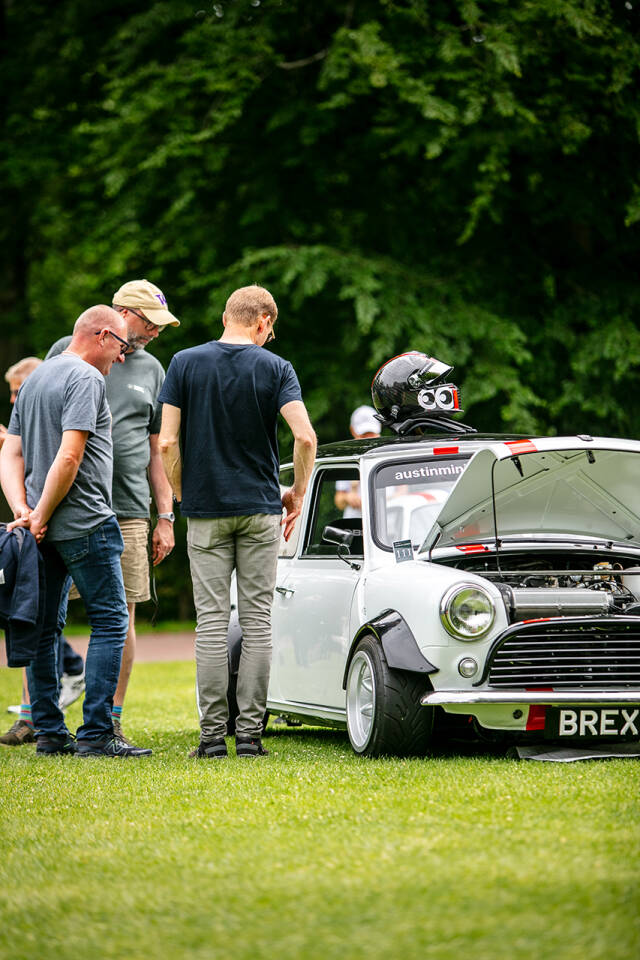
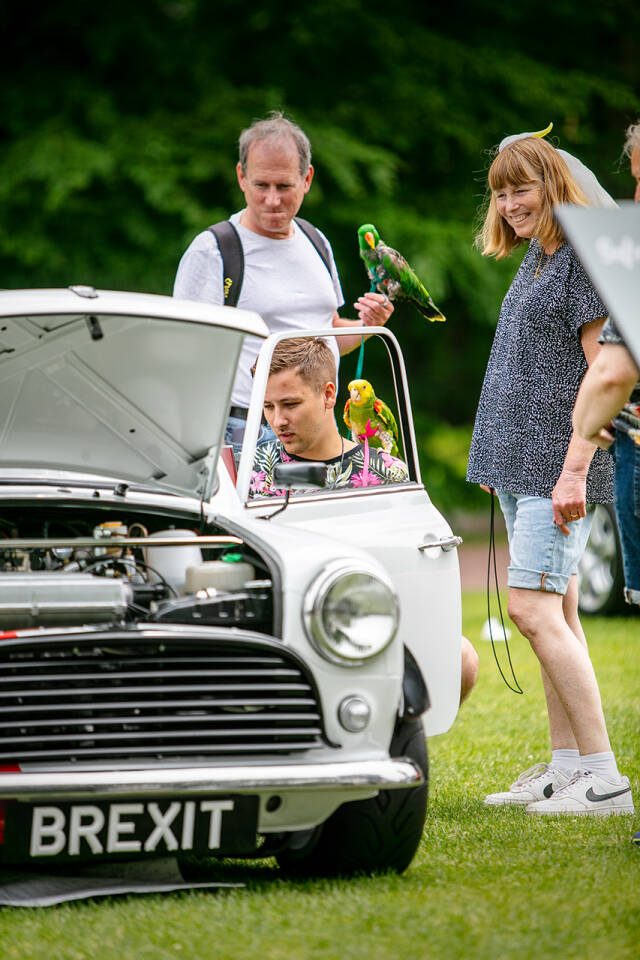
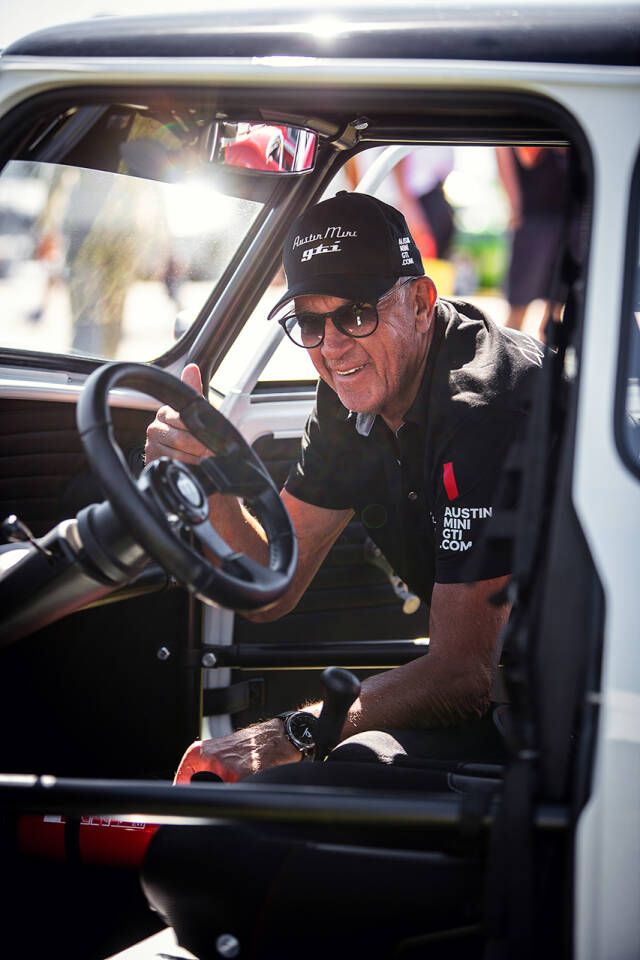
Vädret var kalasbra denna augustisöndag, men det var lite kyligt i vinden ute på flygfältet. Turligt nog hade jag hunnit köpa kepsar, pikétröjor och varmare fleecetröjor och fått dem profilerade med tryck. Det finns inget dåligt väder, bara dåliga kläder. Men denna gång var jag och farsan helt rätt kittade. Folk stannade till titt som tätt och begrundade denna lilla skapelse både nära och på avstånd. En hel del bilder togs förstås på den men framförallt undrade de flesta vad som fanns i motorrummet. Efter att ha startat upp den på allmän begäran, okej, jag var inte sen på att erbjuda mig att starta den heller, så förstod besökarna att det inte var en Mini-motor i bilen.
Och likt andra utställningar jag deltagit på, så strömmar det dit fler nyfikna väldigt kort inpå när jag varvat den lite lagom högt, hehe. Som sagt - Mini size, maximum sound.
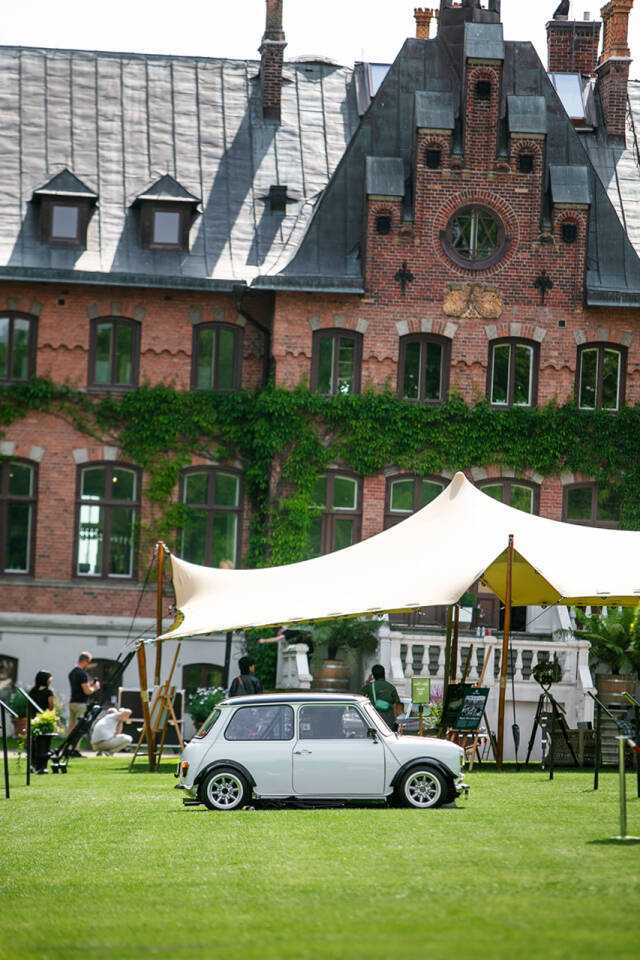
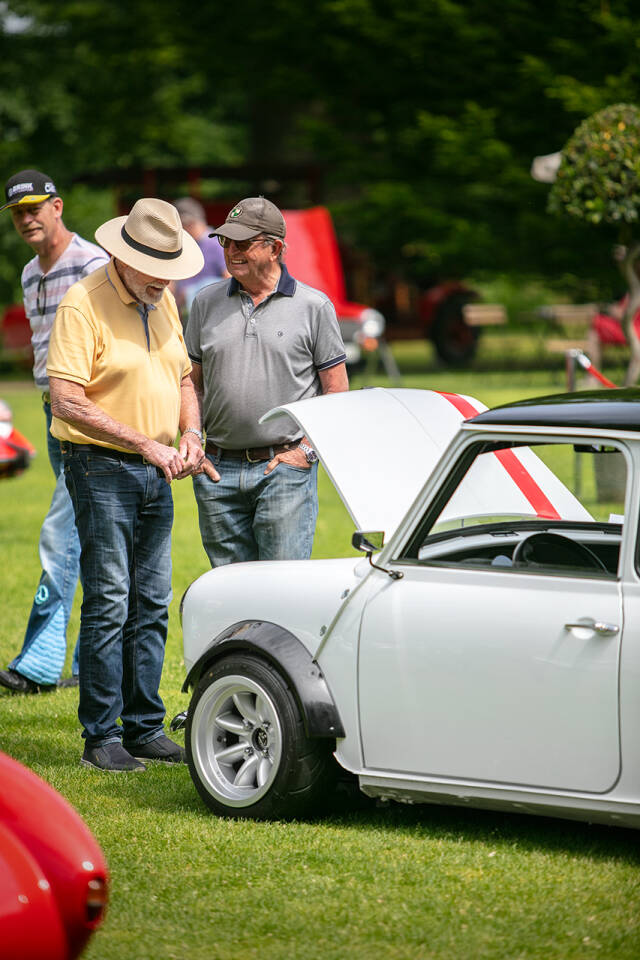
Det är riktigt roligt att ställa ut på bilträffar, inte nog med att man får se så otroligt fina bilar och träffa dedikerade bilbyggare, man får ju också träffa alla bilentusiaster som inte är sena med att ge sig uppskattning över vad man åstadkommit. Vi diskuterar val av hjul, sänkning, breddning, motorval, posters, racebur, färgval, stickers, hästkrafter, mc-förgasare mm - listan kan göras lång. Det sociala tar på krafterna förstås, men man får mycket energi tillbaka från alla man träffar på.
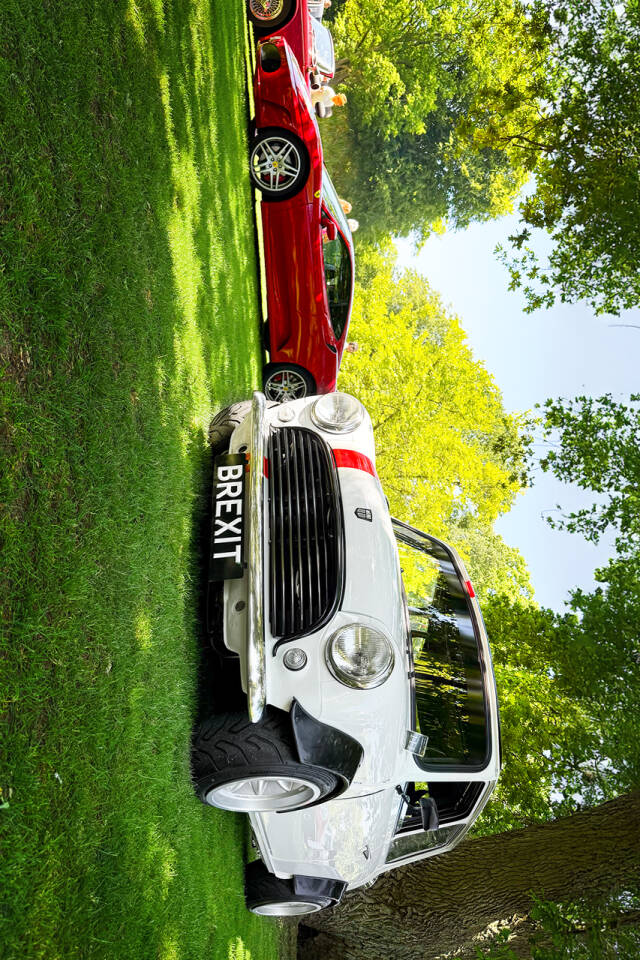
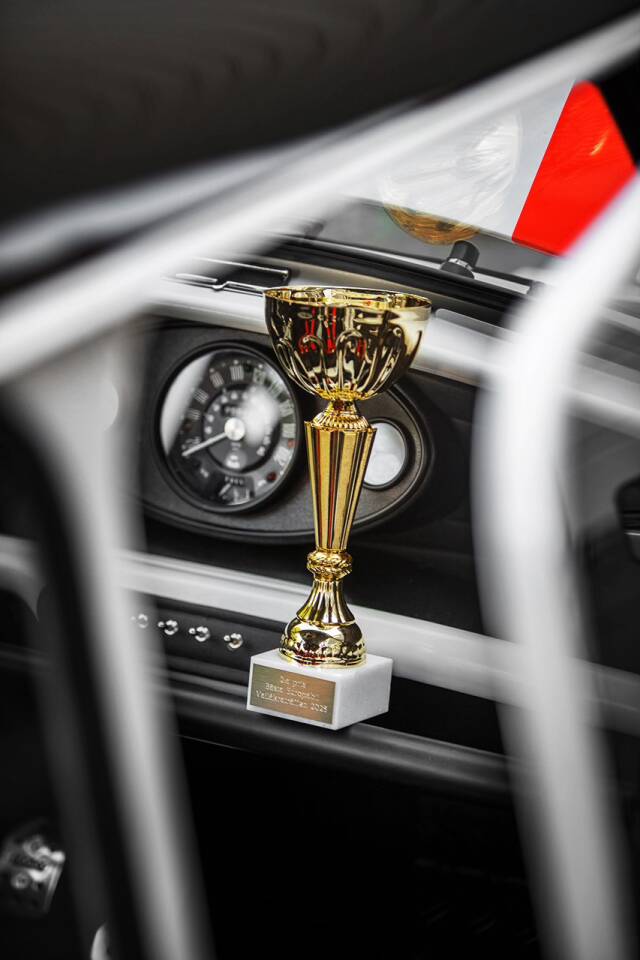
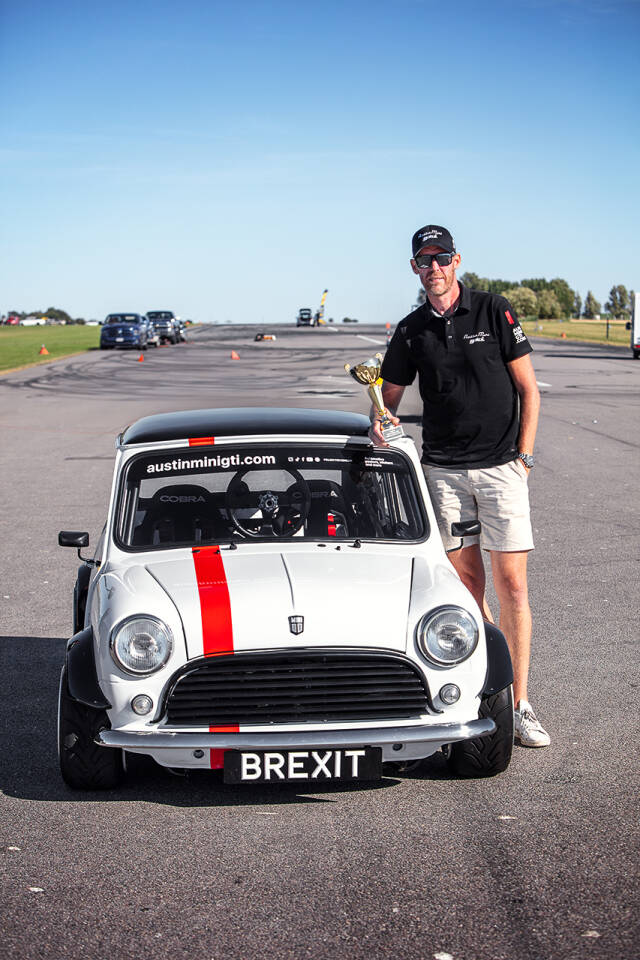
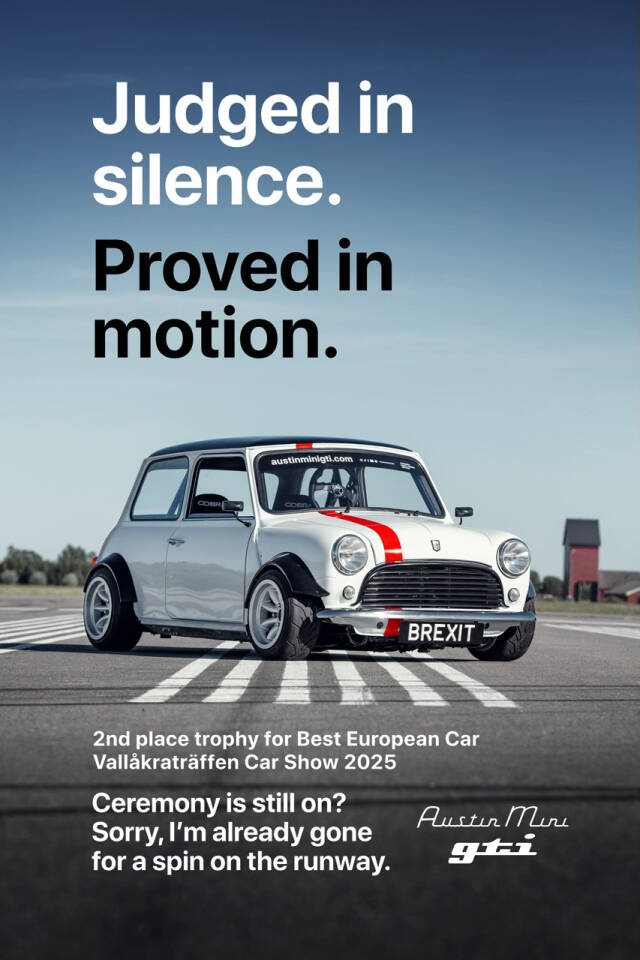
Och då smakar det ännu bättre när man fick reda på att jag hade vunnit pris. Nominerad till Bästa Europabil. Jo, jag tackar! Medan bilarna ställde upp för prisutdelning så knäppte farsan lite bilder och där någonstans i ledet, inklämd mellan bilbyggarproffset Leif Tufvessons Range Rover på Tesla-chassi och en smakfullt renoverad Ford Sierra Cosworth från -92, stod lilla jag. Döm av min förvåning att jag minsann knep andraplatsen i kategorin Bästa Europabil. Jösses. Oväntat, men väldigt skoj! Så jag fick "blygsamt glida" upp mot scenen för prisutdelning och ta emot en goodiebag och pokal. Haha, underbart. Och så bjöd jag förstås publiken på lite "oväntade" motorvarvningar även när jag körde ifrån prisutdelningen. Klart man är tvungen att låta publiken höra hur en "riktig" Mini låter, haha!
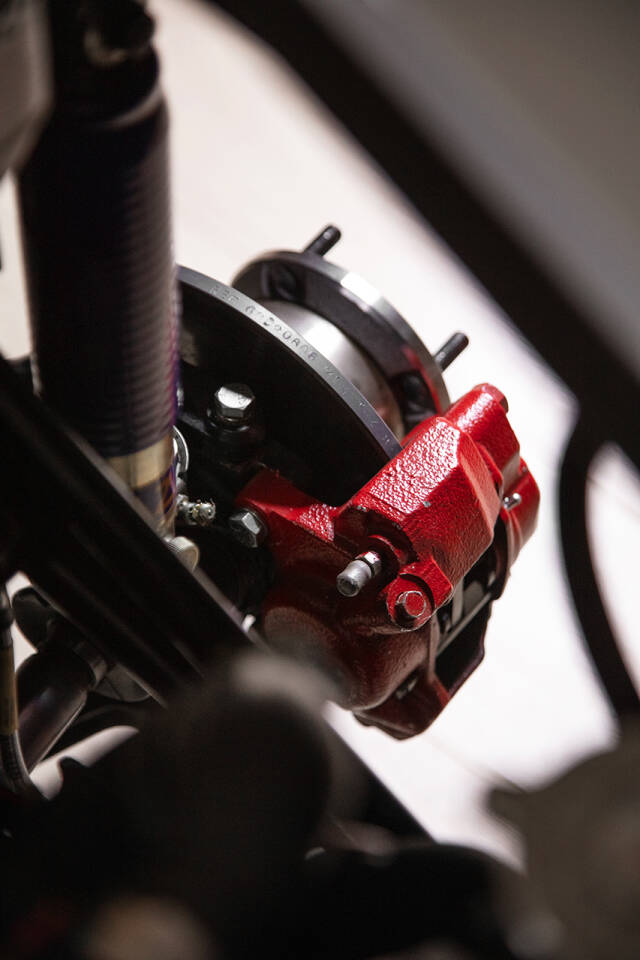
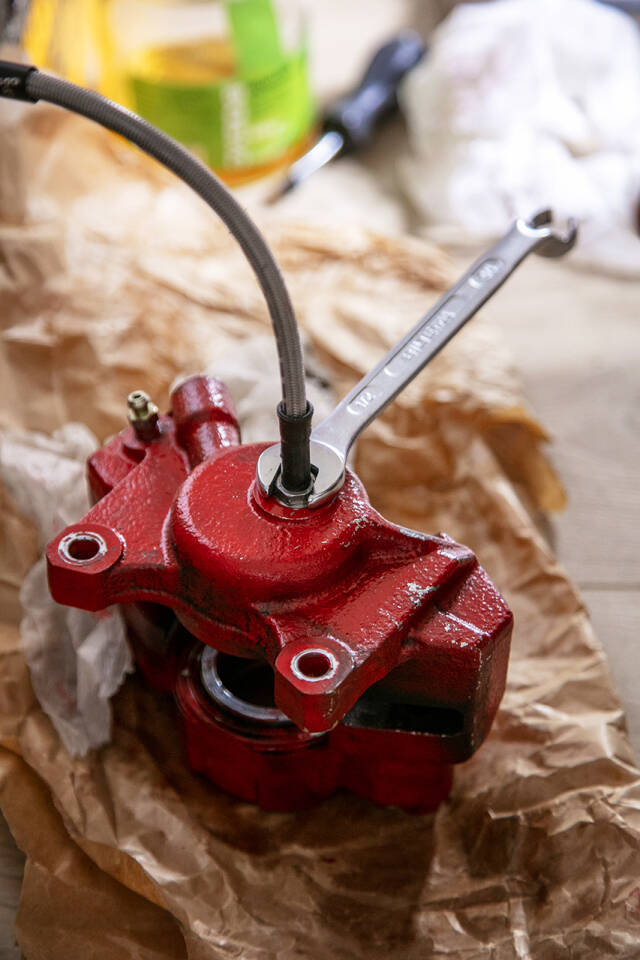
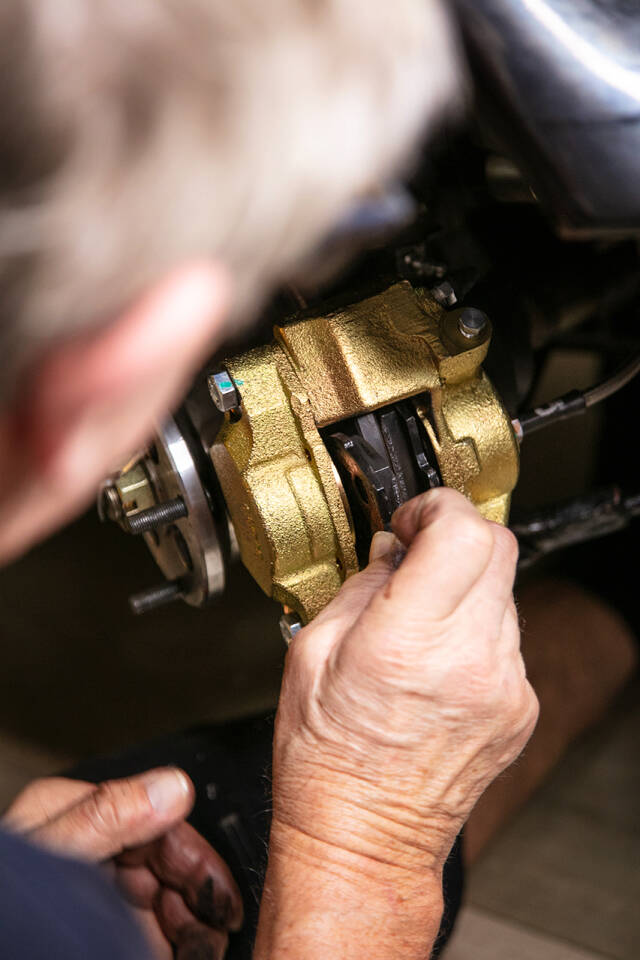
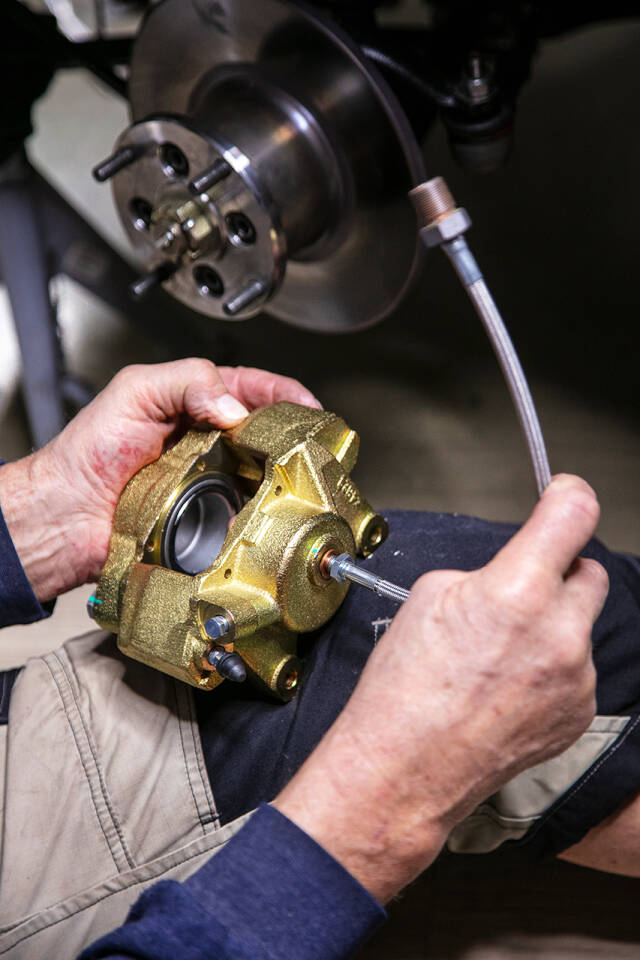
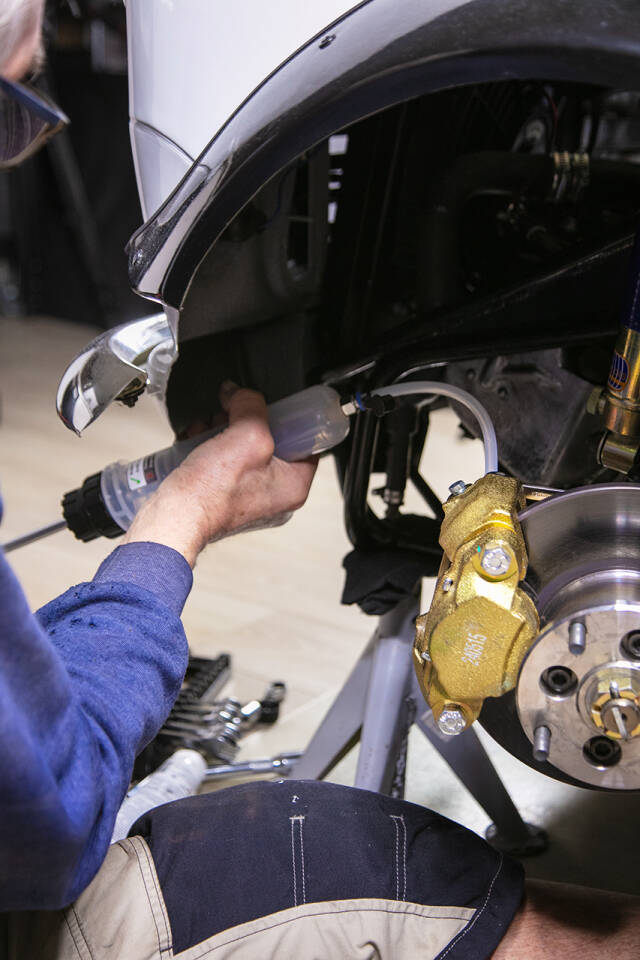
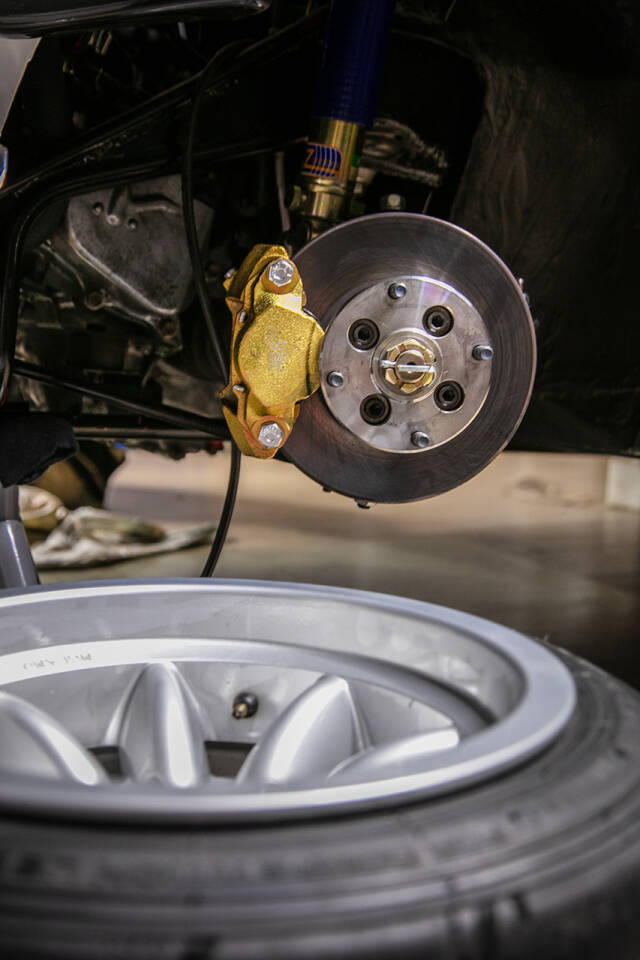
Medan prisutdelningen fortsatte med resterande kategorier så passade jag på att testa bromsarna i andra änden av flygrakan. Och bromstest kräver ju lite fart, så då rastade jag den också förstås. Men filmerna får ni kika efter på min Instagram och TikTok. Fler bilder från Vallåkraträffen kommer i nästa inlägg.
- - - TRANSLATION - - -Well, well, here we go again! Can't leave you all hanging after that cliffhanger from my last post, right? Time to deliver the follow-up. So, what happened at Vallåkraträffen? Not much - yet at the same time, a whole lot!
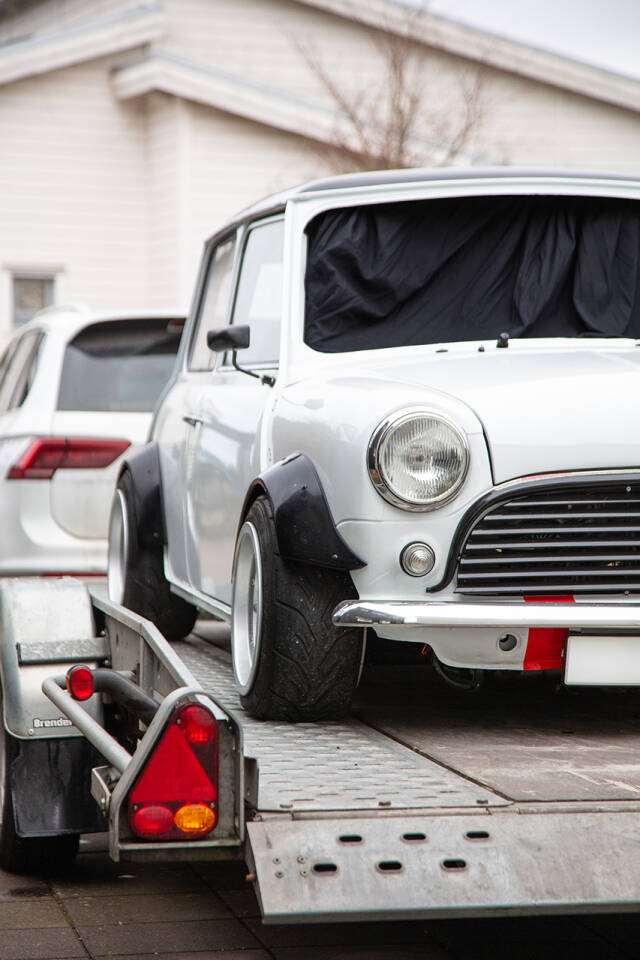
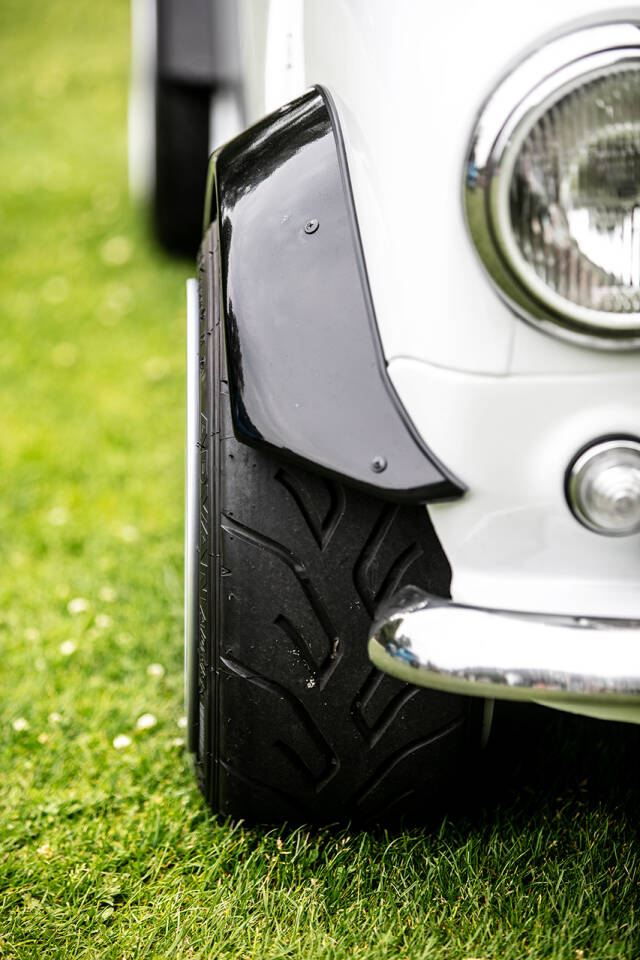
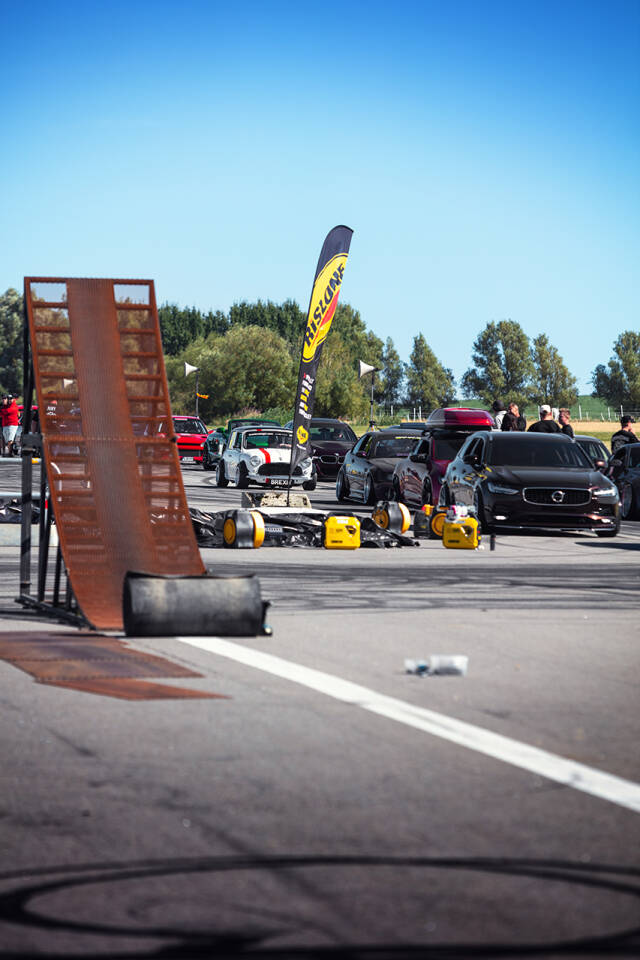
Once I arrived, I pulled out the freshly painted black ramps and planned to display both the van and the Mini as a combo. But the organizer showed up and told me it was a big no-no. They only allowed enthusiast cars in the Show 'n Shine area. I get it, of course - but wouldn't it have looked way cooler to have my Mini halfway out on the ramp, just to prove that even a max-width Mini fits inside a van?
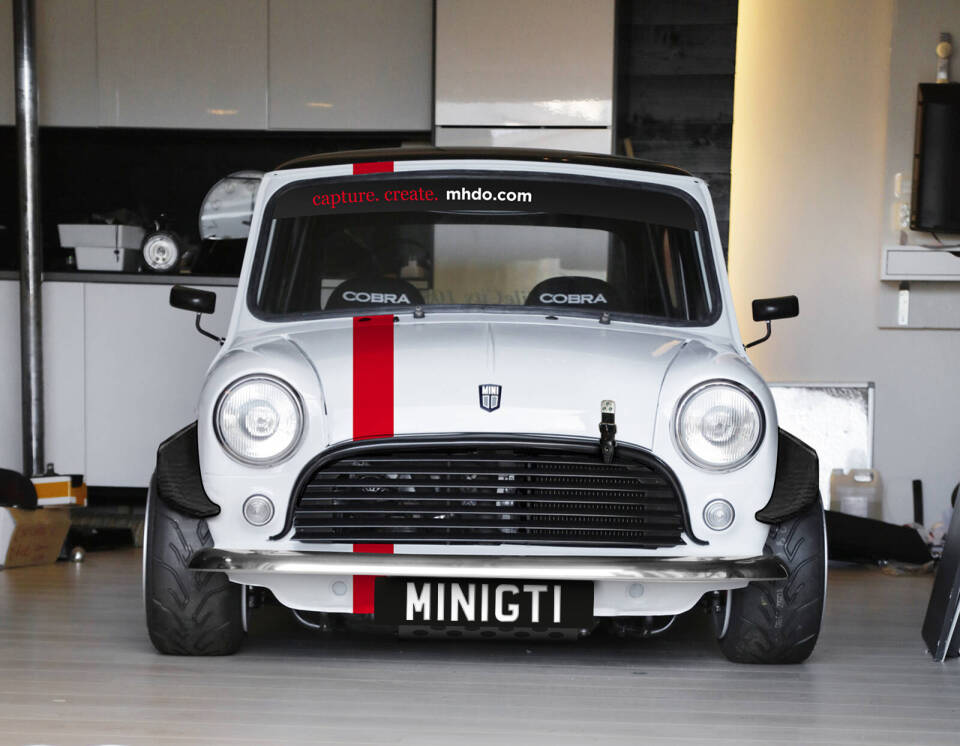
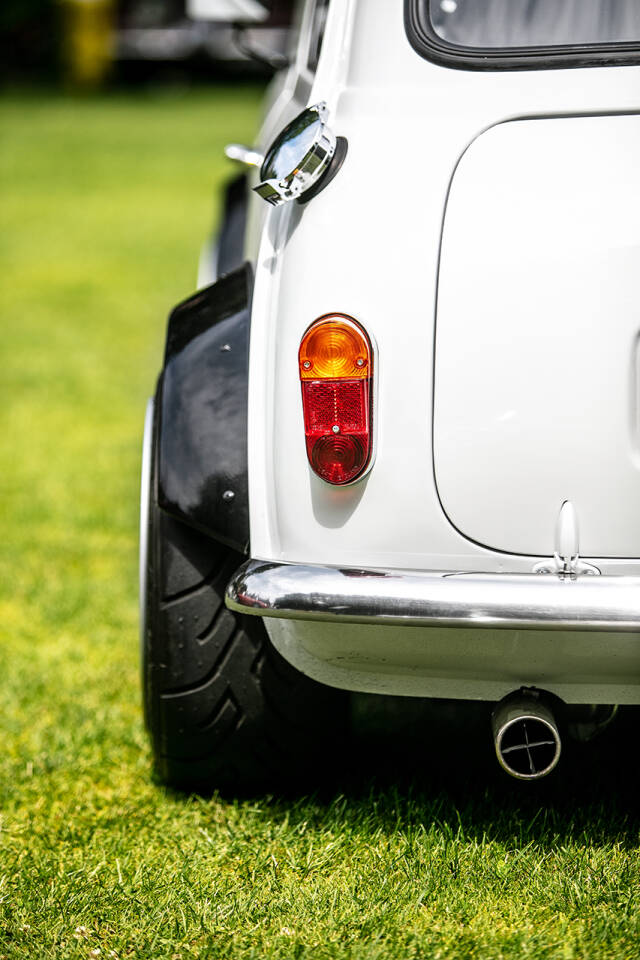
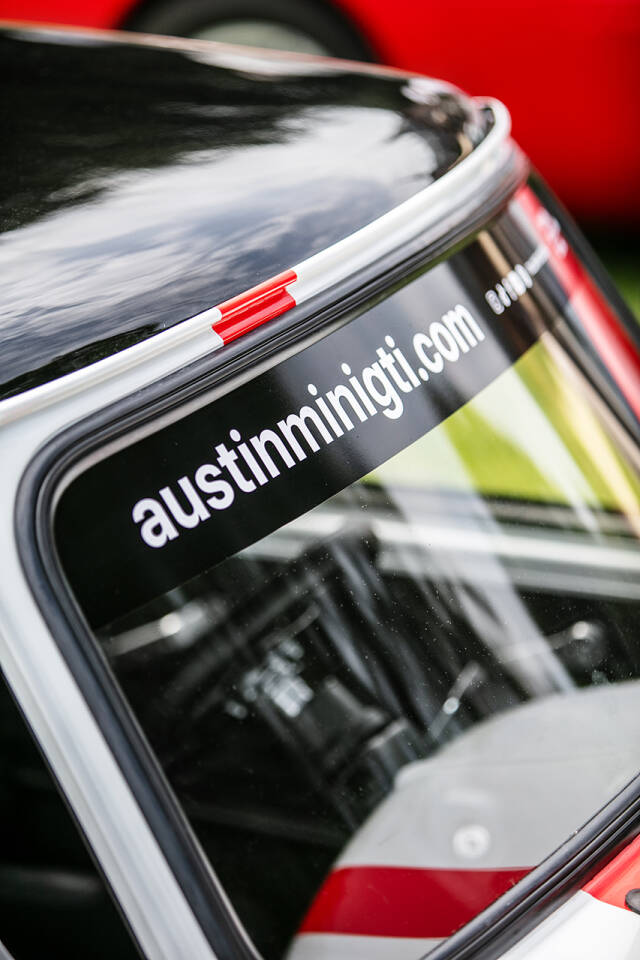
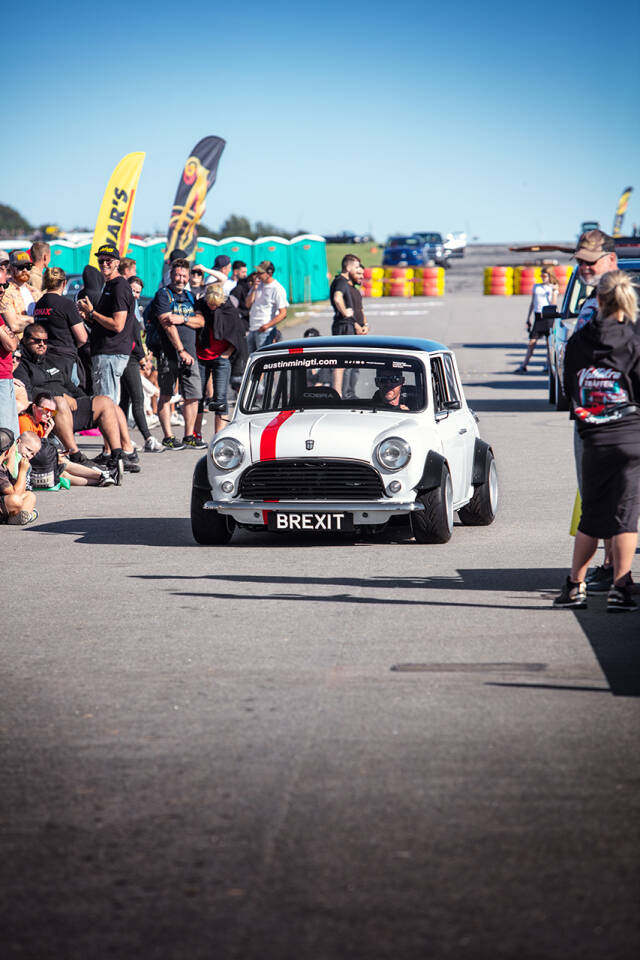
Instead, I rolled the Mini out onto the airfield strip and fired it up - and right away, it grabbed attention from the other exhibitors. Heads turned, ears perked up, eyes widened. It absolutely lived up to what I said in one of my video posts on Instagram and TikTok: Mini size. Maximum sound.
The weather was perfect that August Sunday, though a bit chilly in the breeze out on the airfield. Luckily, I had just ordered caps, polos, and fleece sweaters with custom prints. There's no such thing as bad weather - just bad clothing. But this time, both dad and I were geared up just right.
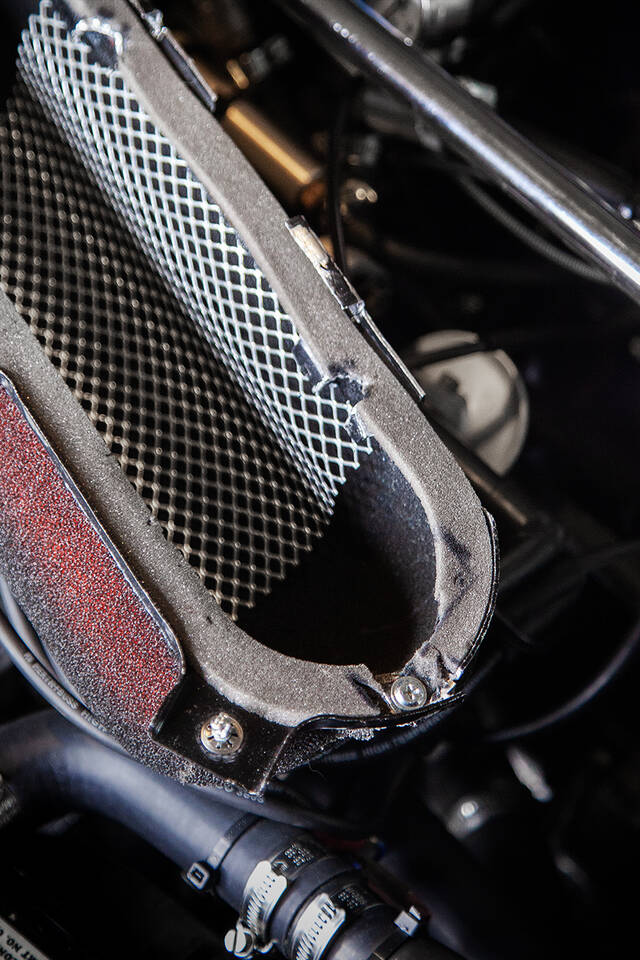
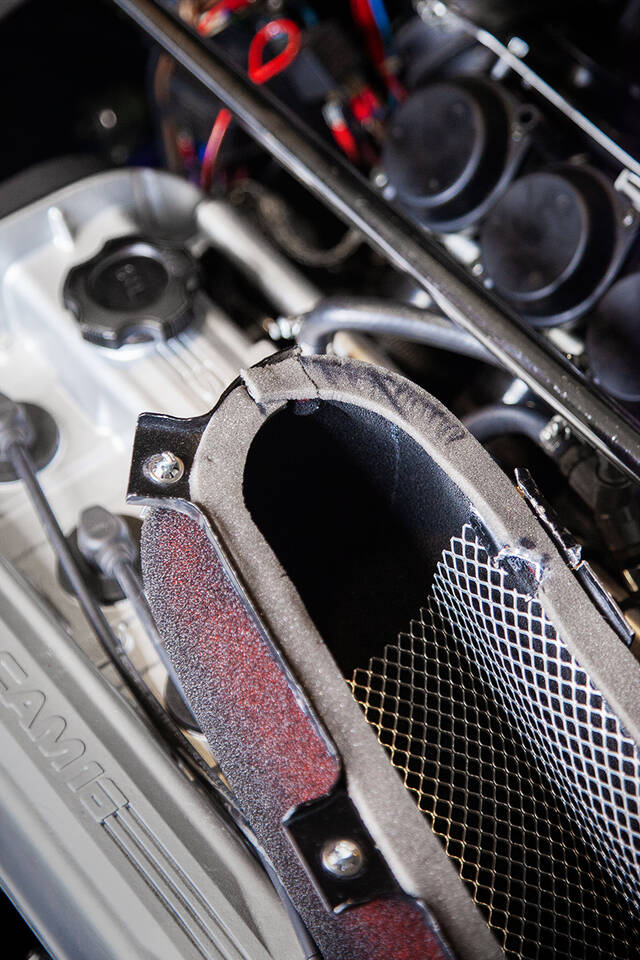
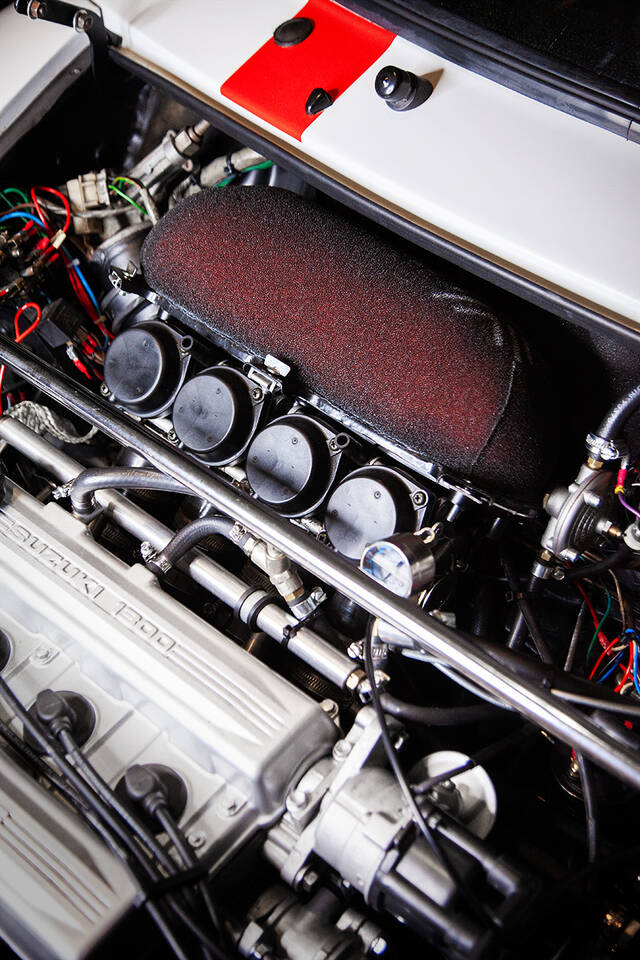
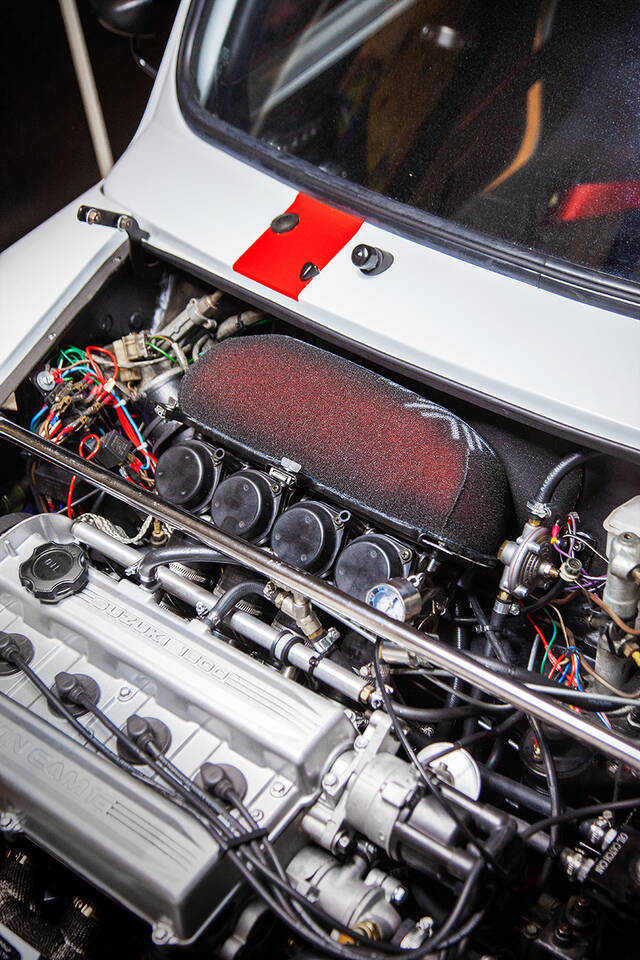
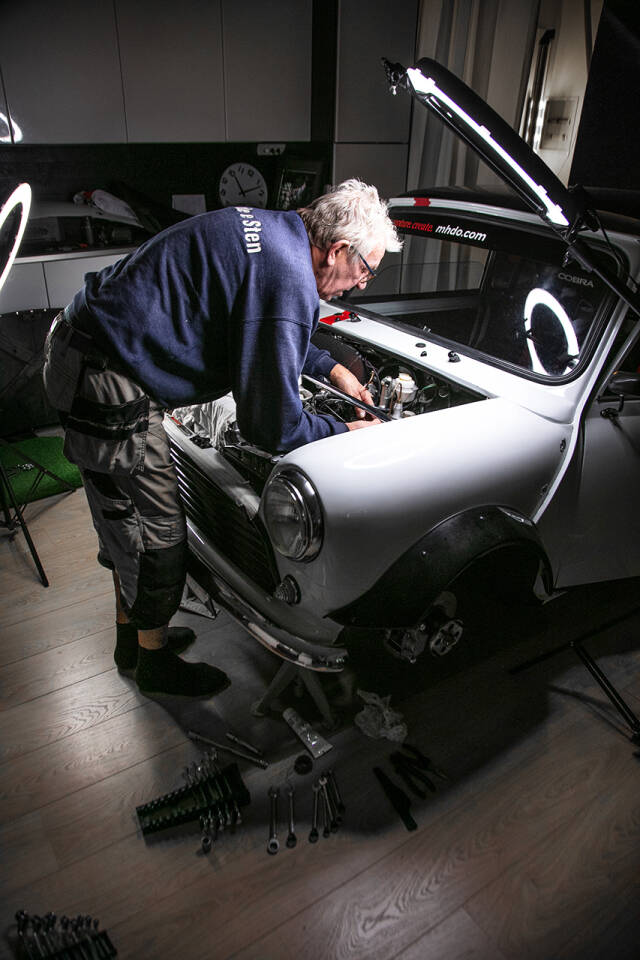
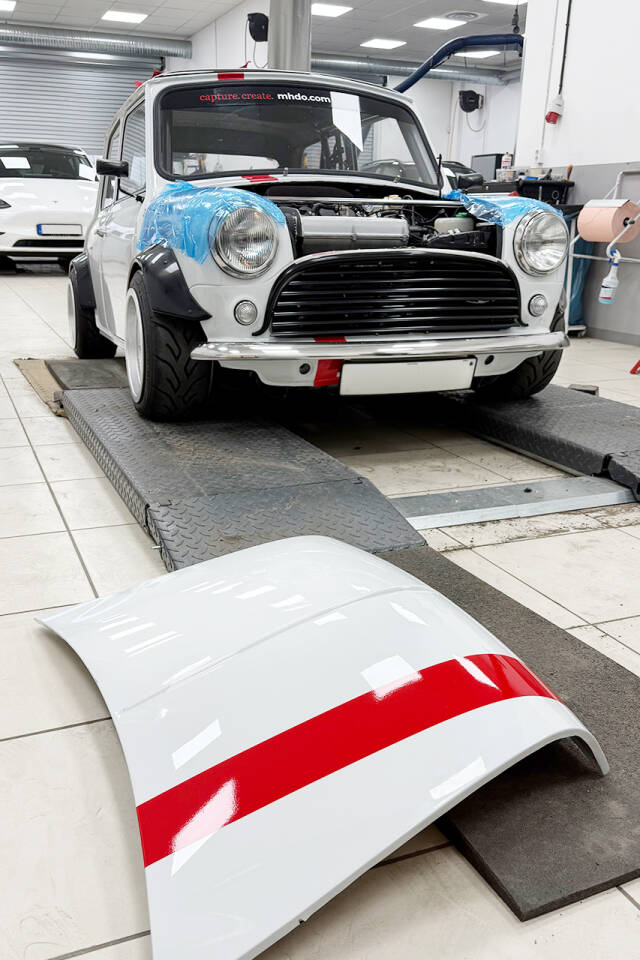
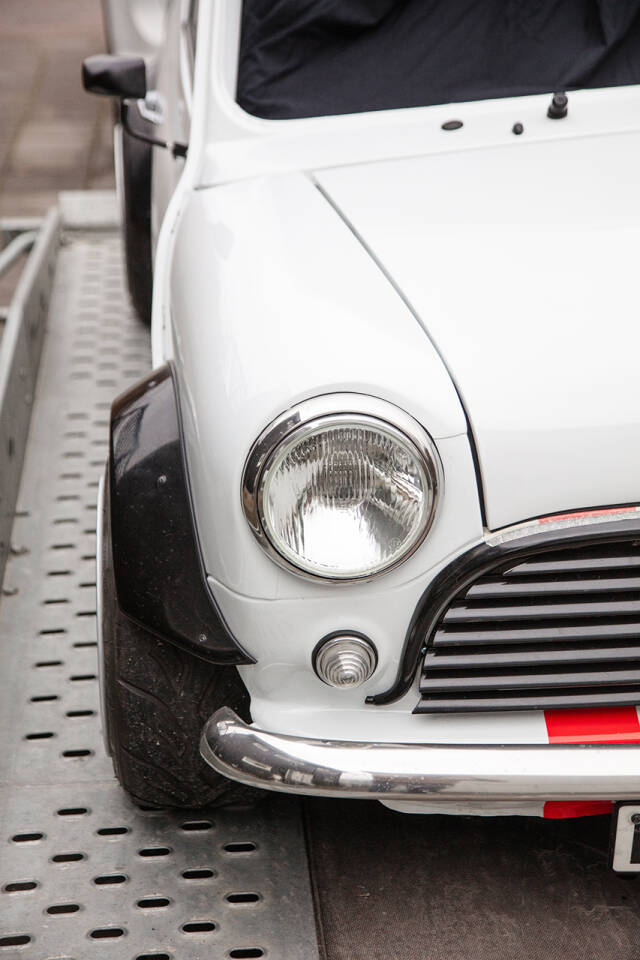
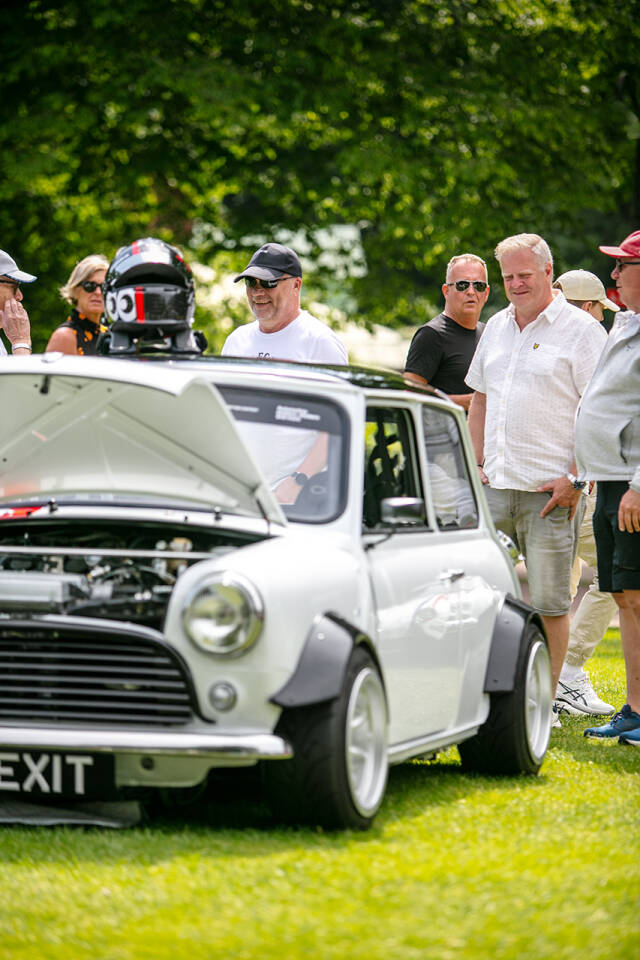
People kept stopping by - from afar and up close - to admire this little creation. Lots of photos were taken, of course, but what most visitors were dying to know was what's under the bonnet. On popular request (okay, I didn't need much convincing), I fired it up again, and people quickly realized this wasn't your average Mini engine.
Like with every other show I've been to, the crowd thickens just after a little throttle blip, haha. Like I said - Mini size. Maximum sound.
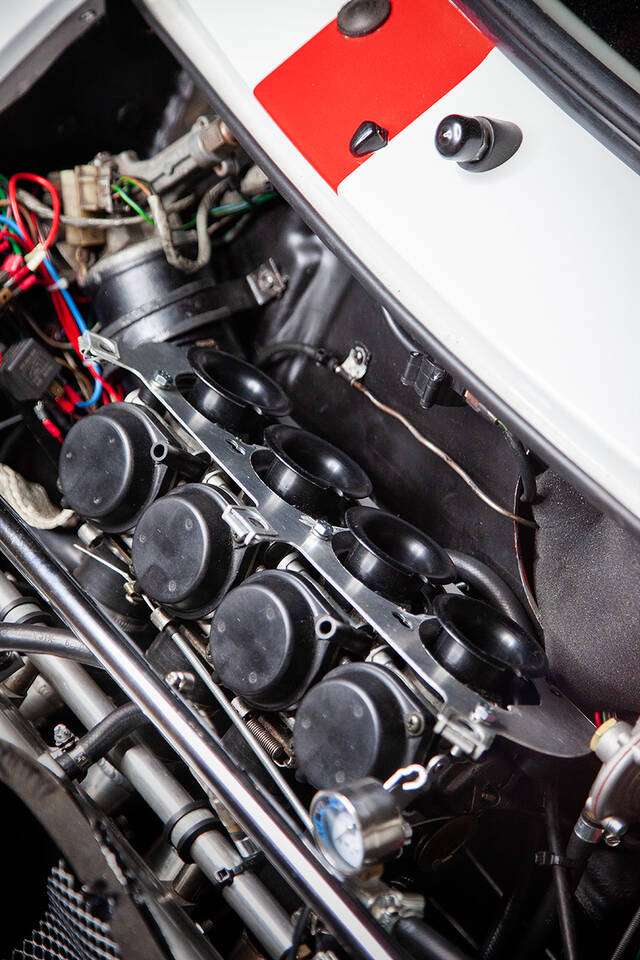
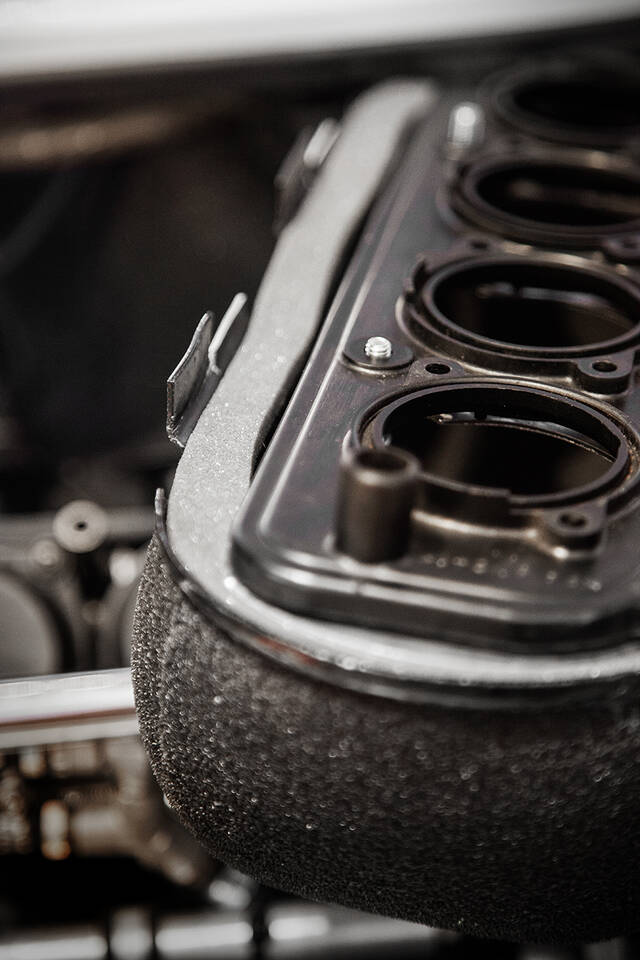
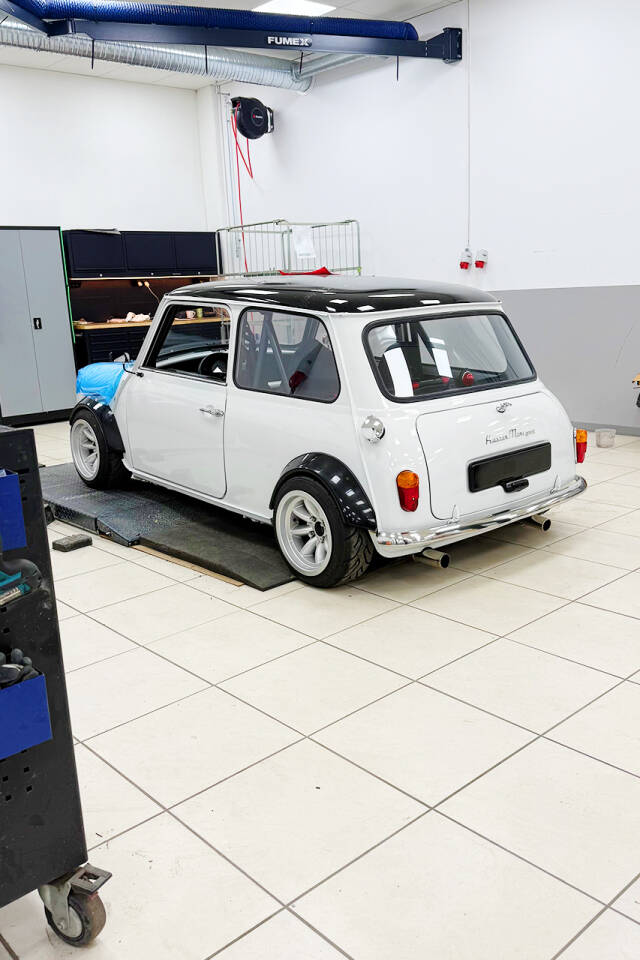
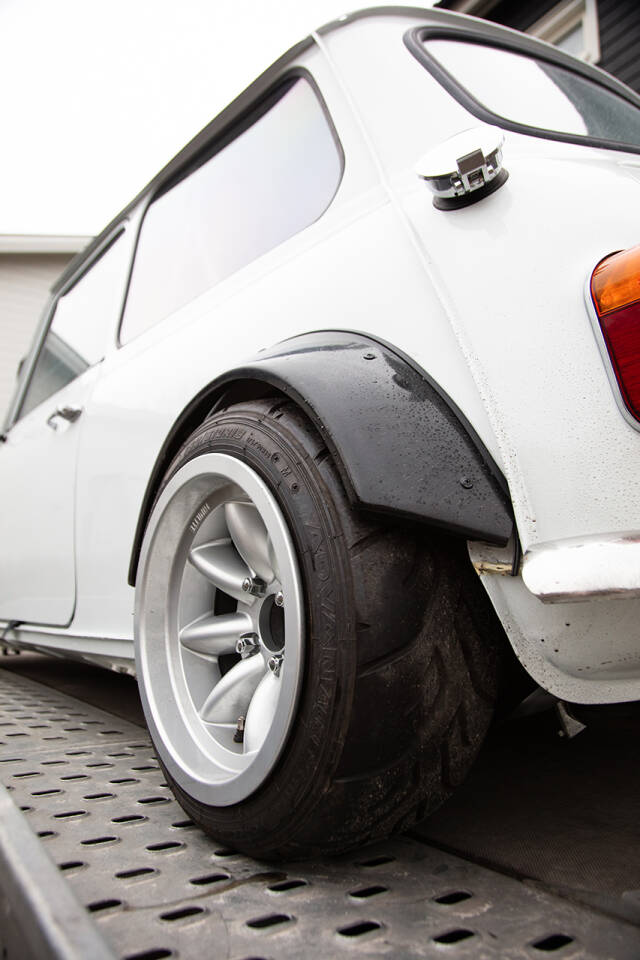
Car shows are a blast. Not just because you get to see insanely nice builds and meet dedicated car builders, but also because you get to connect with car lovers who genuinely appreciate the work you've put in. We talk about wheel choices, suspension drops, body widening, engine swaps, poster designs, roll cages, color picks, stickers, horsepower, motorcycle carbs - you name it. Sure, it's exhausting, but the energy you get back from people makes it all worth it.
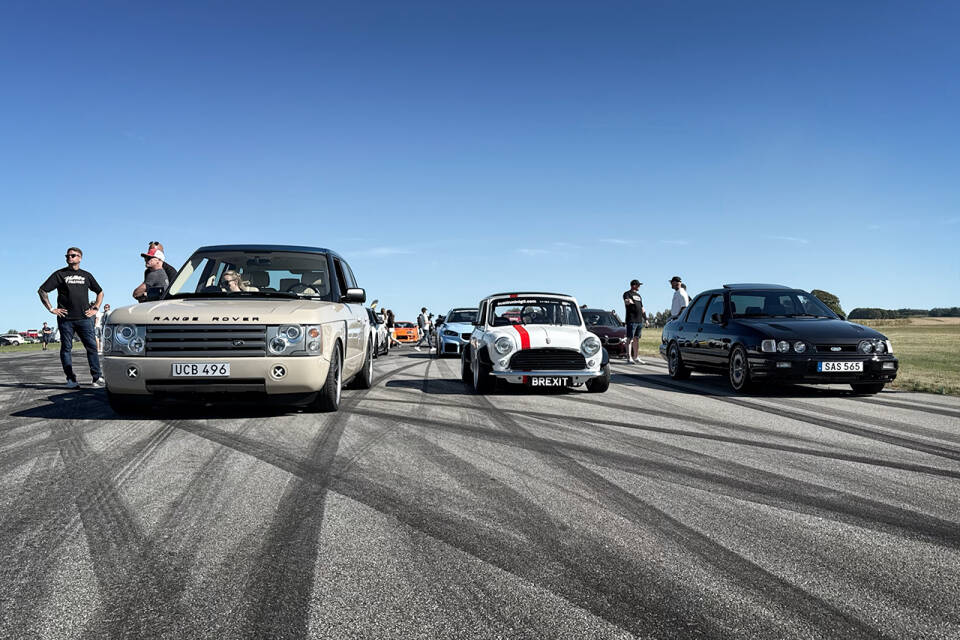
And let me tell you - it felt even better when I found out I had won an award. Nominated for Best European Car. Well, thank you very much! As we lined up for the prize ceremony, dad snapped a few photos, and there I was - squeezed between pro car builder Leif Tufvesson's Tesla-chassi Range Rover and a tastefully restored 1992 Ford Sierra Cosworth.
And wouldn't you know it - I actually snagged second place in Best European Car. Wow. Unexpected, but deeply appreciated!
So I cruised up to the stage to collect my goodie bag and trophy. Absolutely brilliant. And of course, I gave the crowd a few "surprise" engine revs as I pulled away from the awards area. You've got to let the audience hear what a real Mini sounds like, right? Haha!
While they wrapped up the rest of the categories, I took the chance to test the brakes at the far end of the airstrip. And well, if you're going to test brakes, you need some speed - so I gave it a little blast down the strip too.
But you'll have to check out my Instagram and TikTok for those videos. More photos from Vallåkraträffen Car Show coming up in the next post.
![https://www1.garaget.org/gallery/images/219/218366/218366-7986bf6588f1f43fa5bd084d2e28c5d7.jpg]()
![https://www1.garaget.org/gallery/images/219/218366/218366-627b7c788c52c8fcd637b4af8fc74424.jpg]()
![https://www1.garaget.org/gallery/images/219/218366/218366-9b66ba44e98bf57d42fb5c58fd5327fe.jpg]()
![https://www1.garaget.org/gallery/images/219/218366/218366-e69b64bf845138cf190d9239cb2d1b58.jpg]()
![https://www1.garaget.org/gallery/images/219/218366/218366-391b6e98adc74f2a70466418c934c787.jpg]()
![https://www1.garaget.org/gallery/images/219/218366/218366-7c1ec4b159c966ac07b57233aa7a9567.jpg]()
![https://www1.garaget.org/gallery/images/219/218366/218366-08d5d2ceed50d12aac8da55eaeb6dc14.jpg]()
![https://www1.garaget.org/gallery/images/219/218366/218366-0f3b85bd240266d1bb417c785bba6f0e.jpg]()
![https://www1.garaget.org/gallery/images/219/218366/218366-f0c7fc53f42a55bf314bf1ea1be5bc1f.jpg]()
![https://www1.garaget.org/gallery/images/219/218366/218366-56df7b27e68e30d9dccec8c4e15019ce.jpg]()