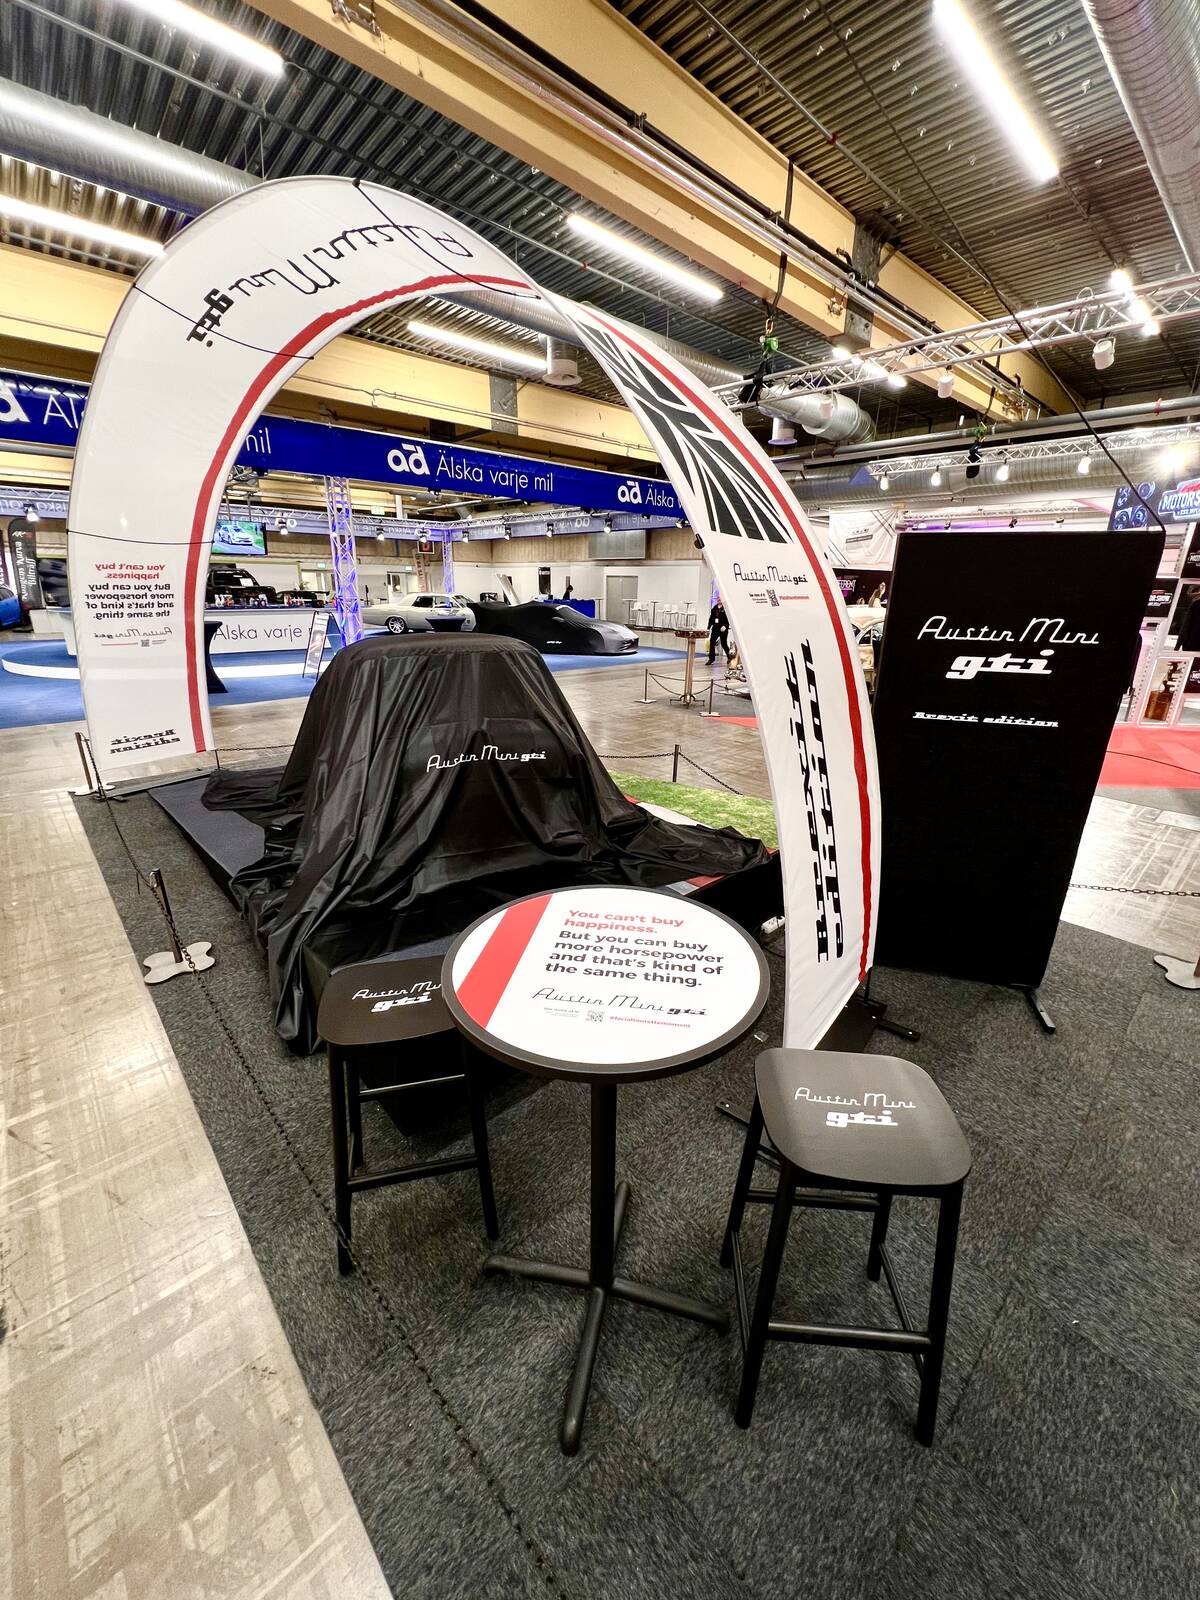
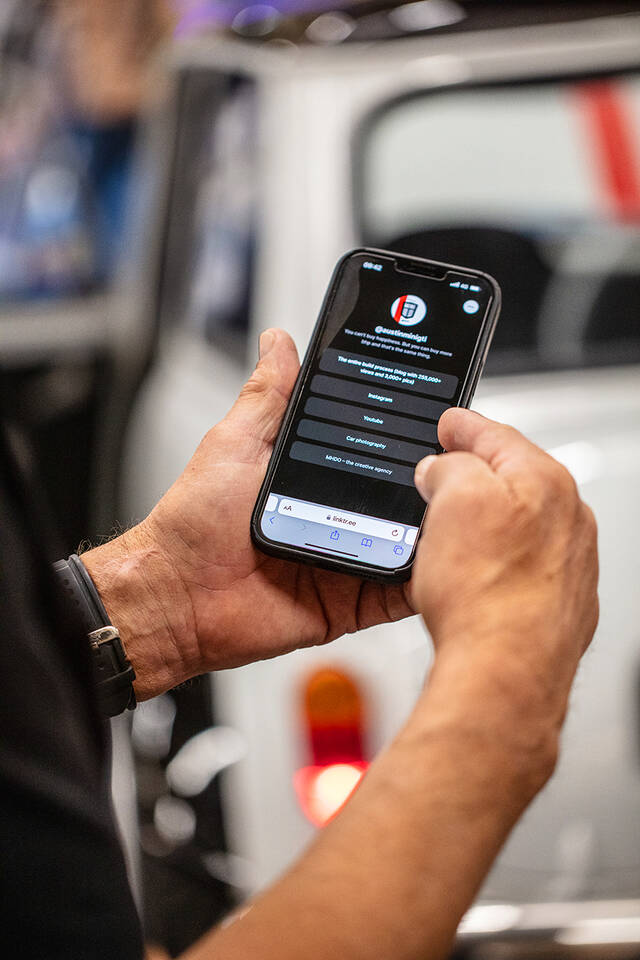
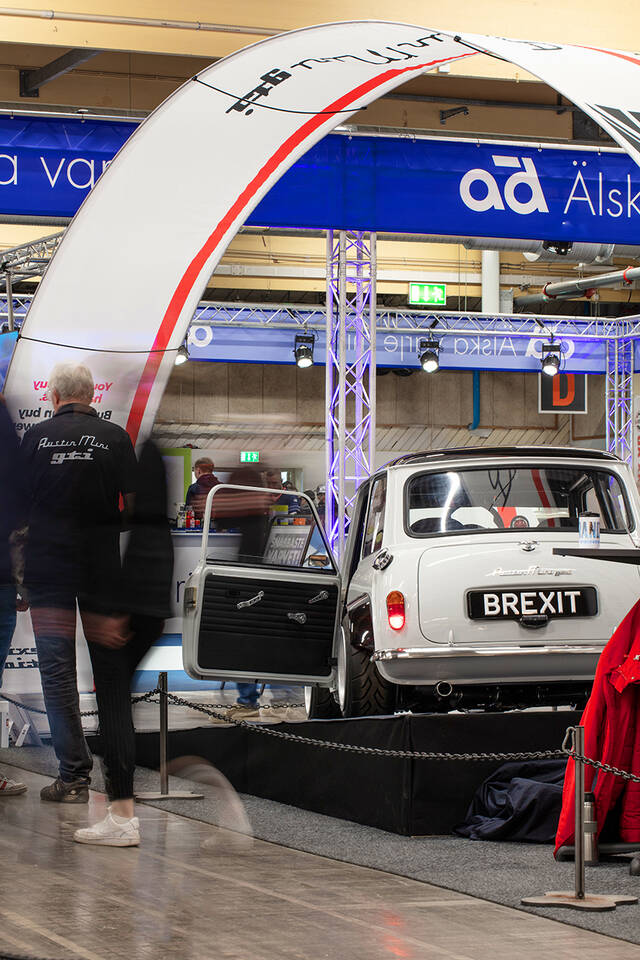
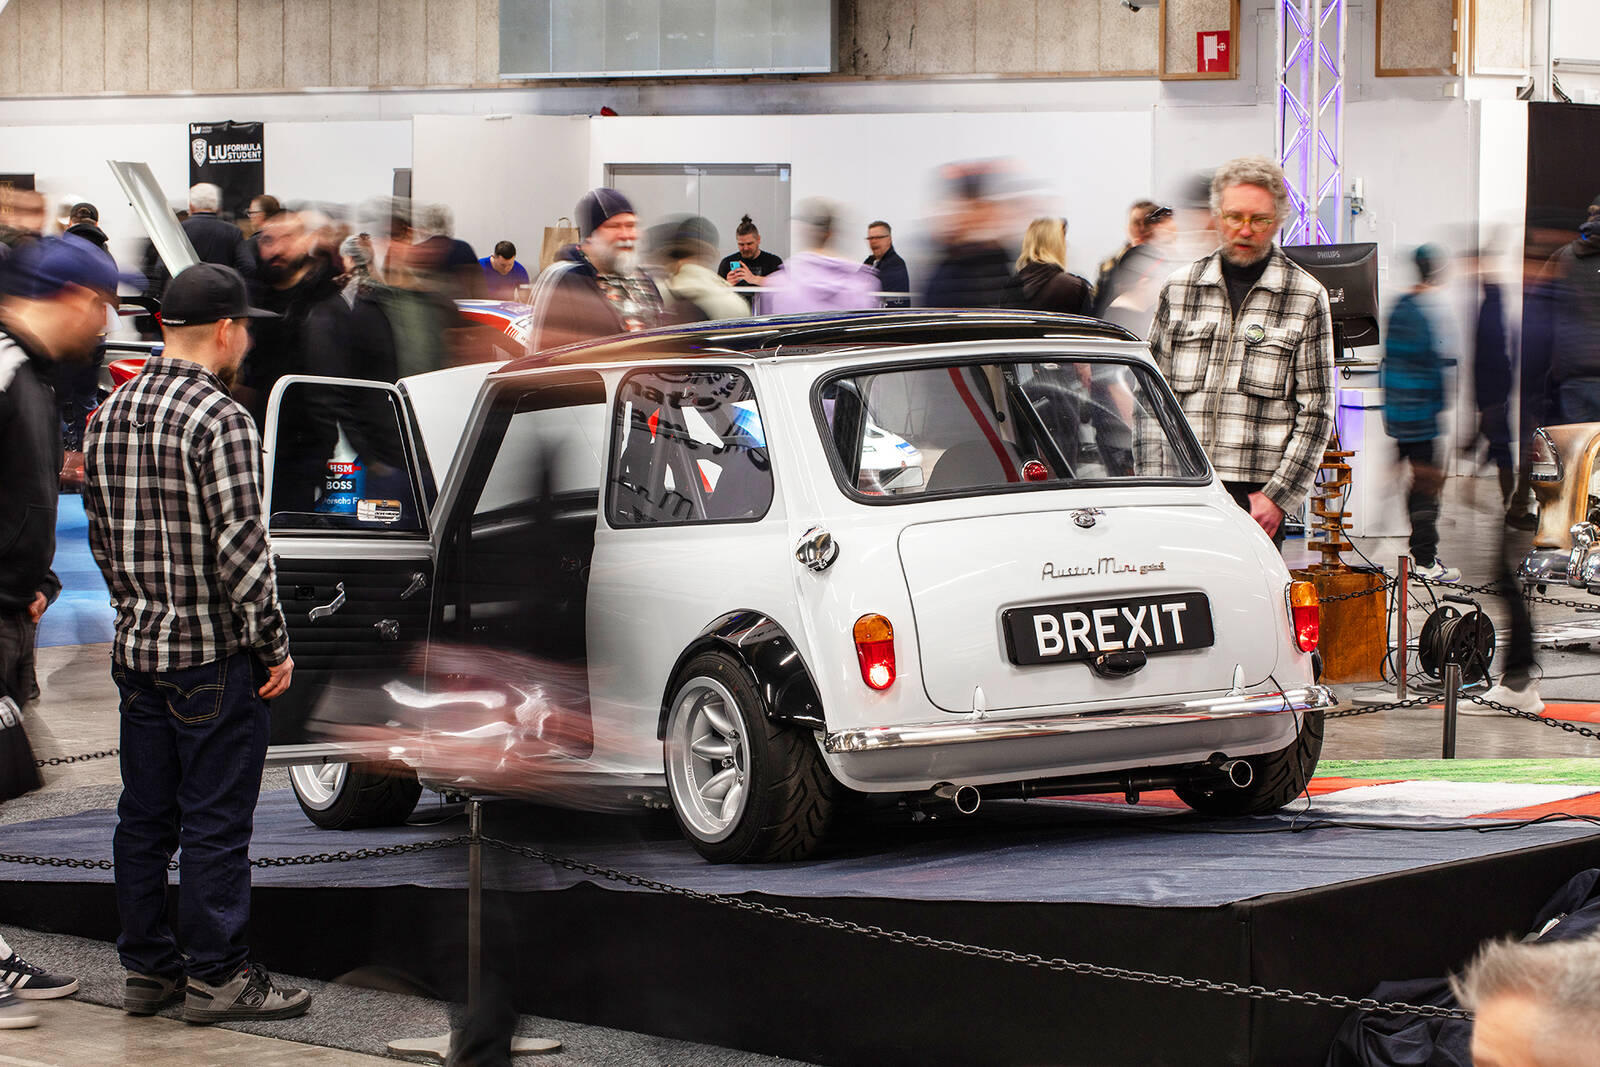
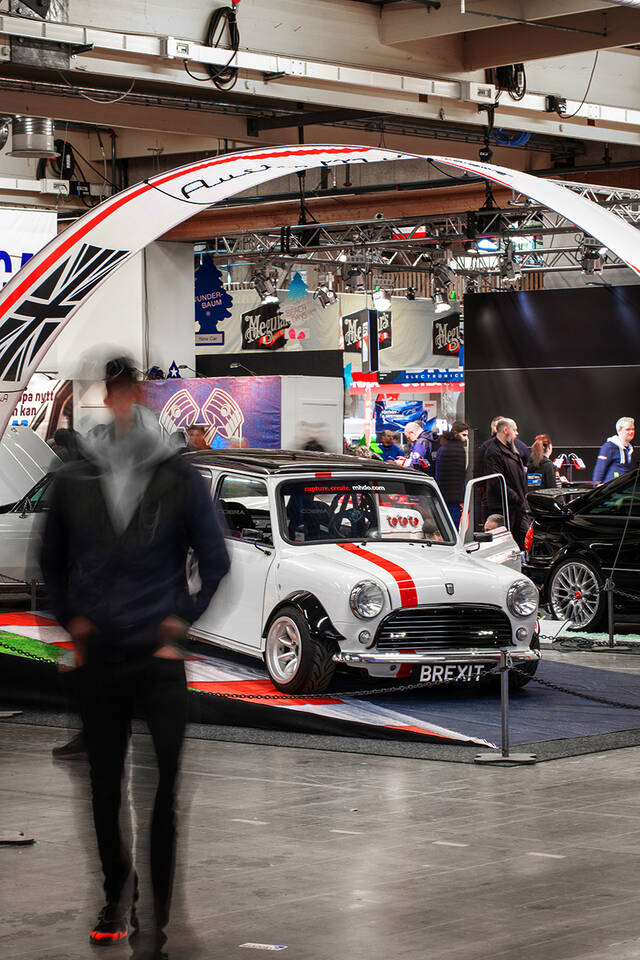
Ojojoj, flitens lampa lyser! Farsan och jag kastade oss mellan att fixa grejor till montern på Bilsport Custom Motor Show i Jönköping till Påsk och att faktiskt försöka slutföra bygget så att vi faktiskt kan ställa ut den lille kojan.
Den tidigare inköpta och lackade bakluckan var ju inte i bästa skick, den var inte en genuin baklucka, vilket man surt insåg när den var lackad. Ojämn yta så den såg förskräcklig ut trots att lackeringen var fin. Men men, jag köpte en genuin baklucka för något år sedan och kontaktade lackeringsfirma för en vecka sedan. Pang, klar på två dagar! Nice. Så det blev till att demontera klädselskivan, nummerplåtsbelysningen och kofferthandtaget. Och i lika rask takt montera dessa på den nya bakluckan. Smack, där satt den på plats!
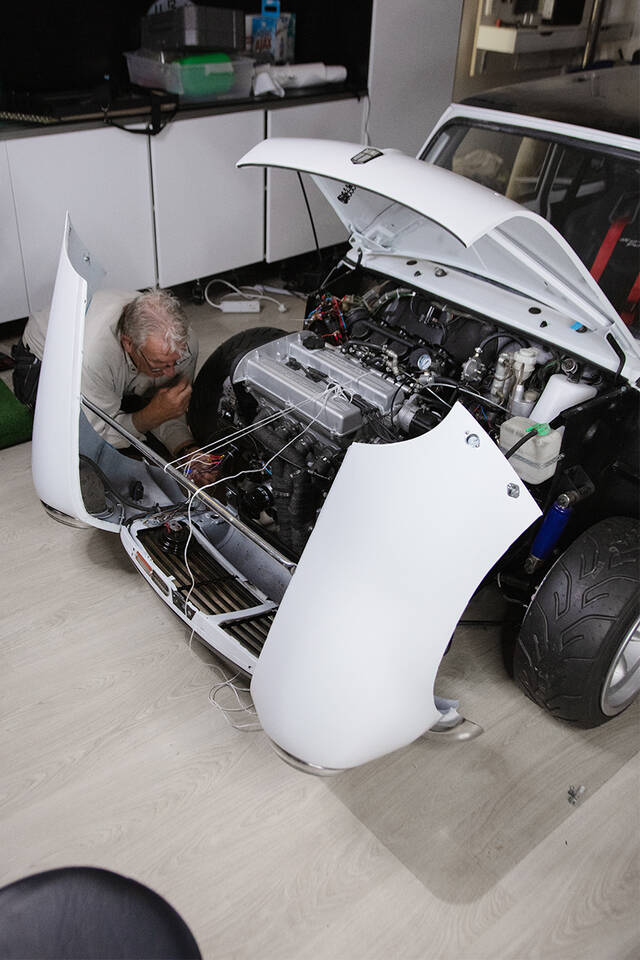
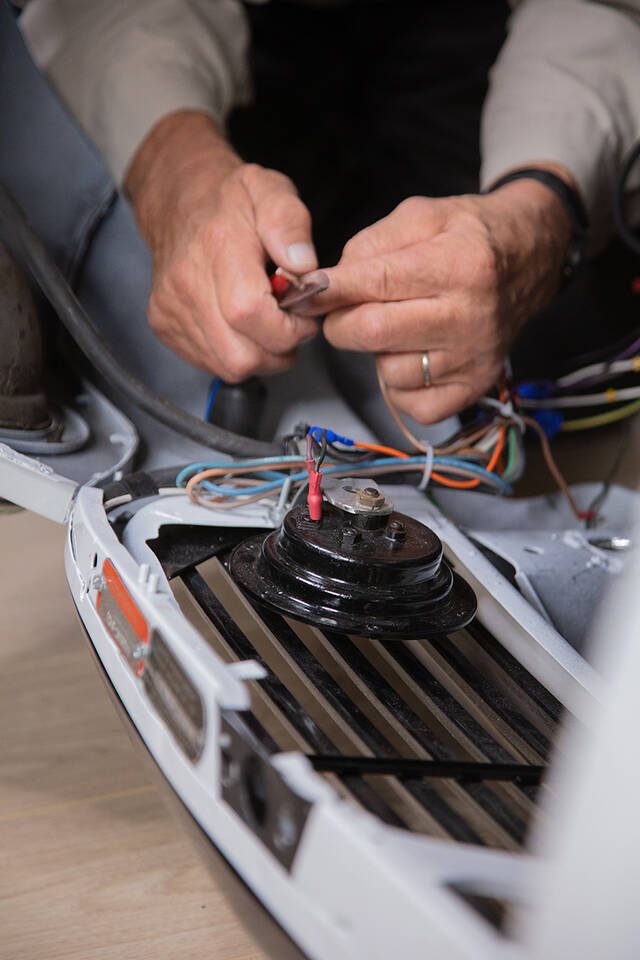
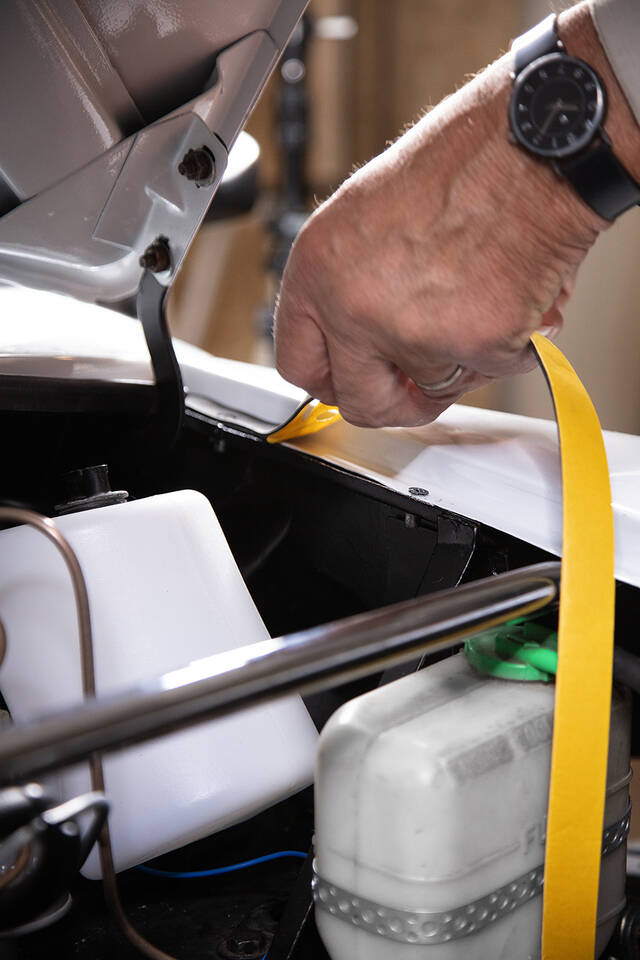
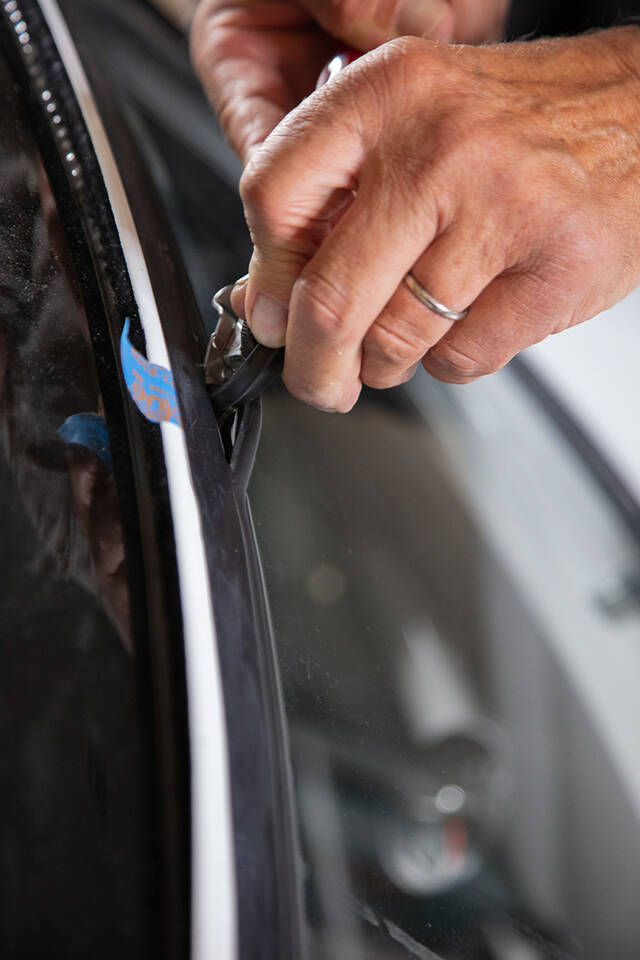
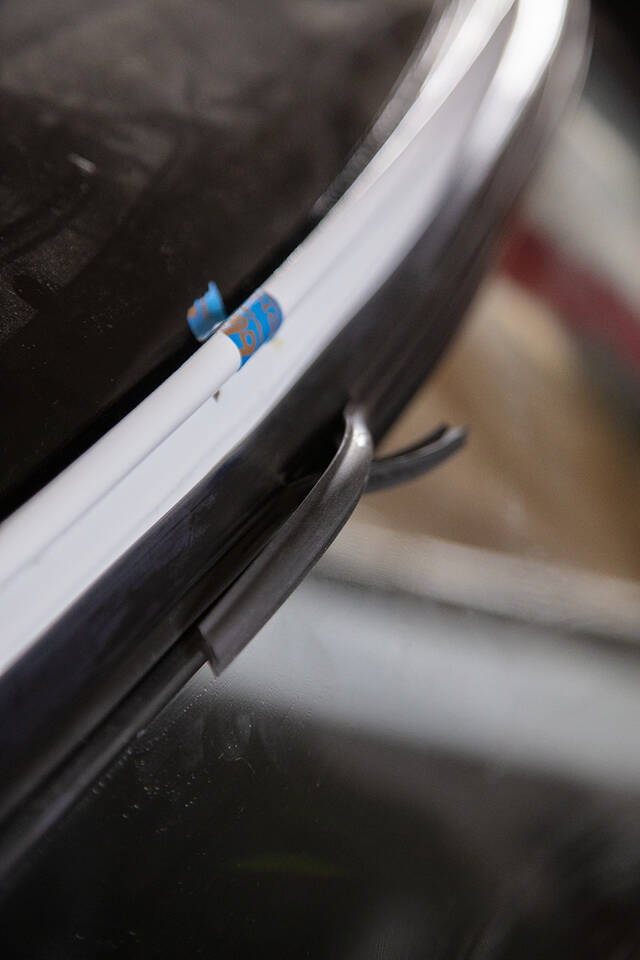
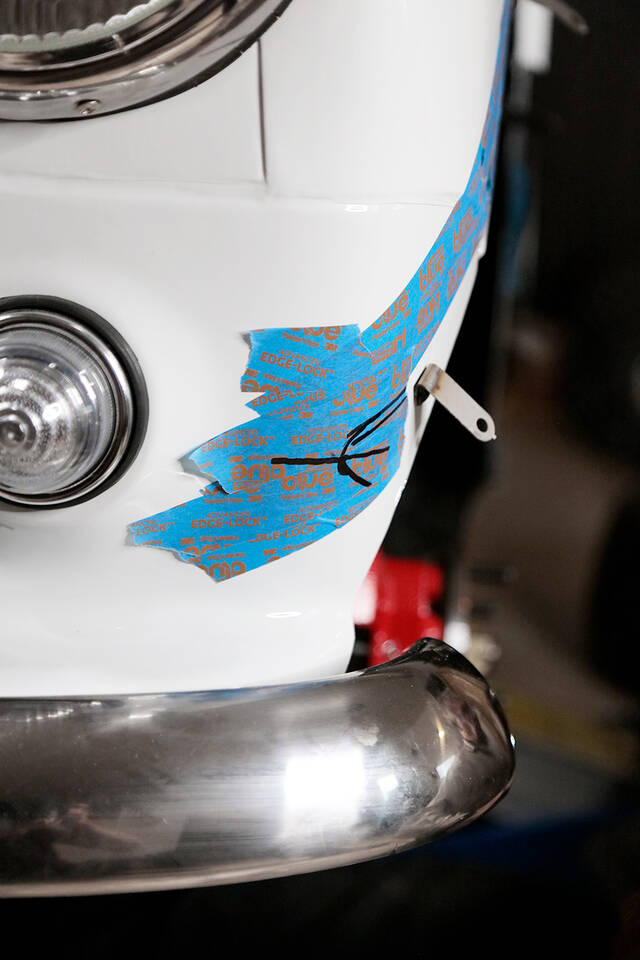
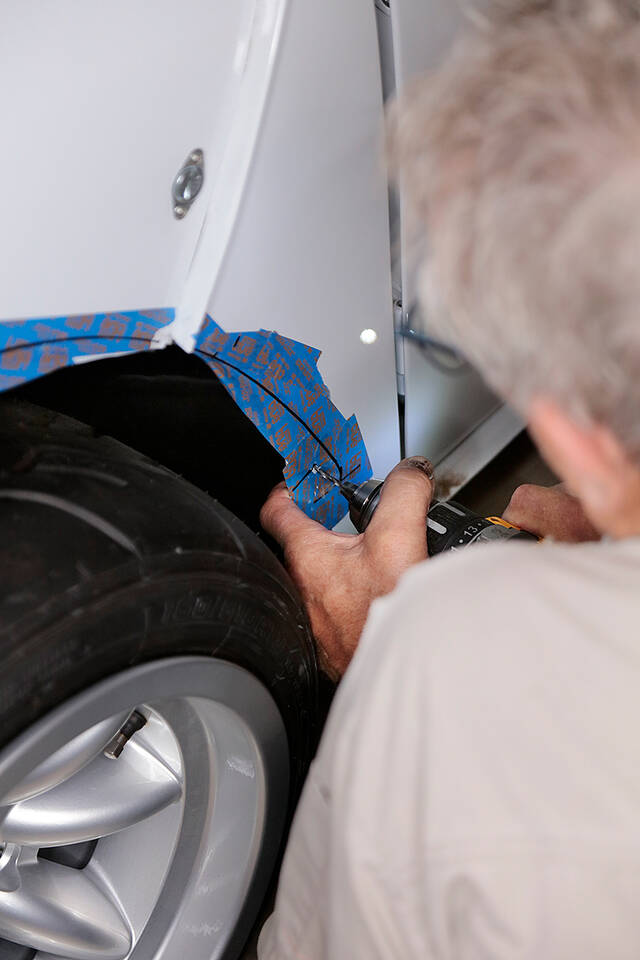
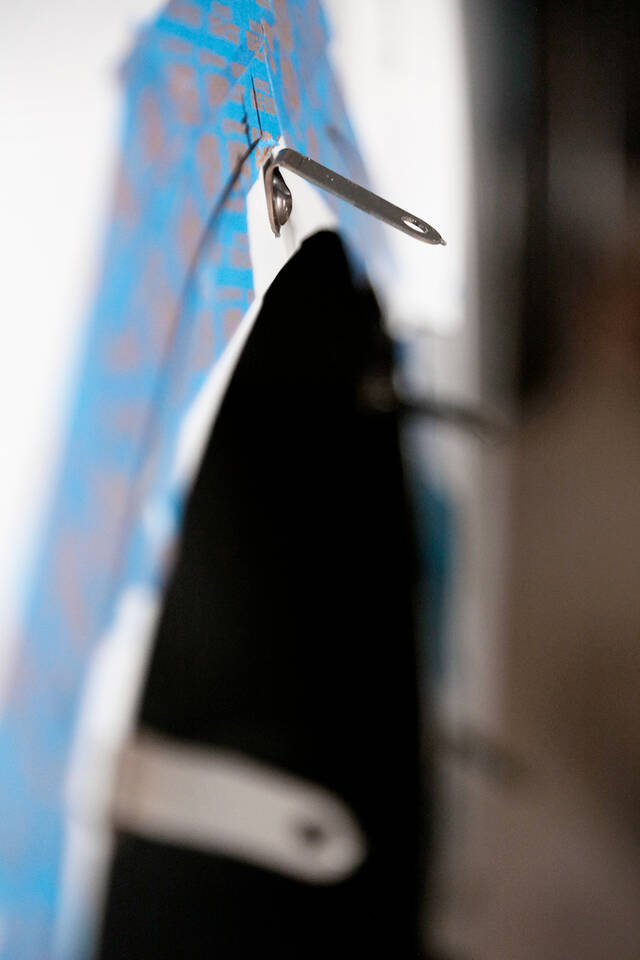
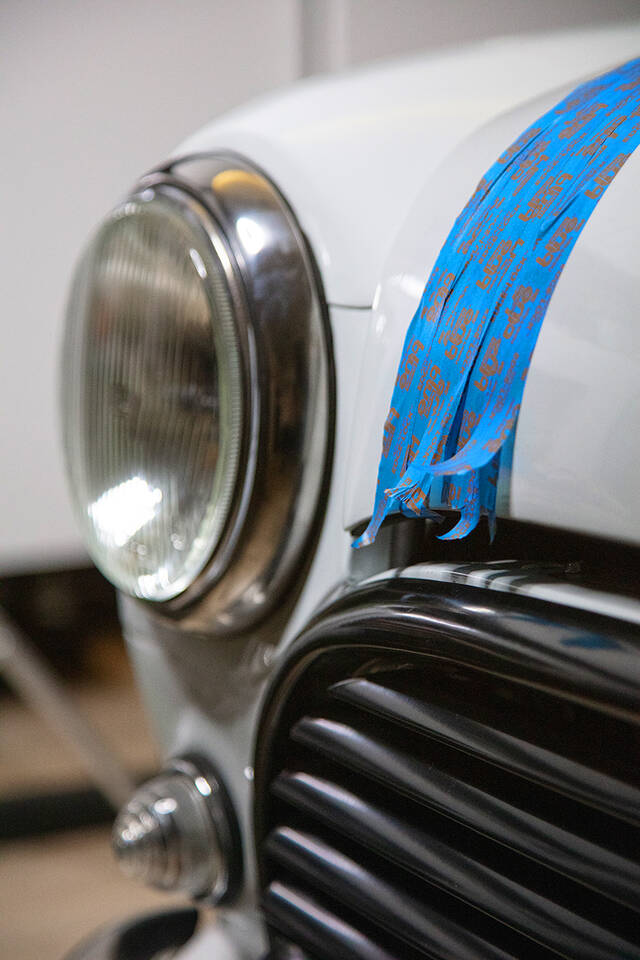
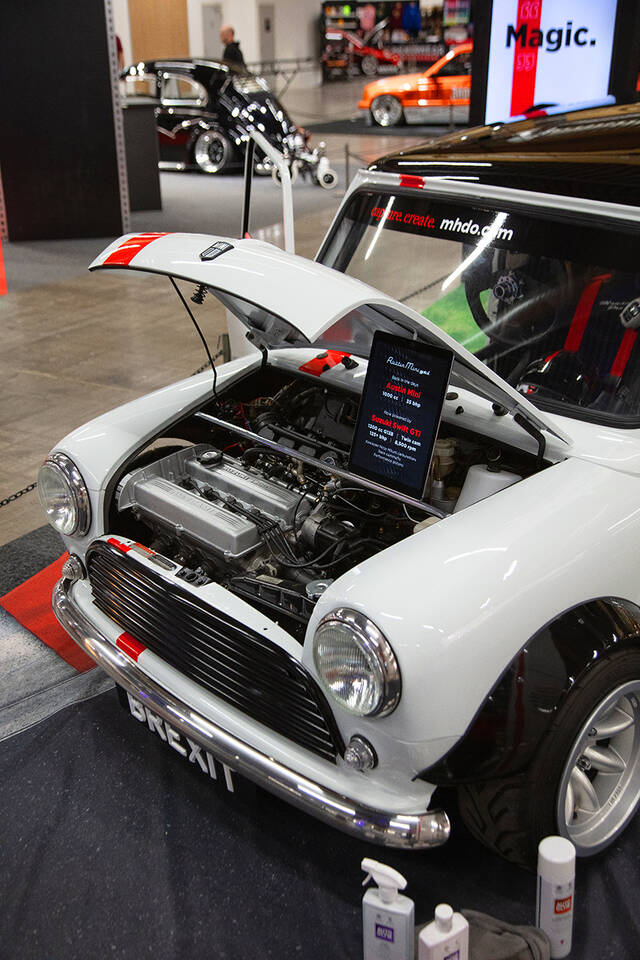
Jag hade förbättrat infästningen för gångjärnen till flipfronten och nu var det dags att äntligen få dit främre delen av bilen på plats. Ahh, härligt att se den i sin helhet. Farsan kopplade el till varselbelysning, huvöppnare och klistrade dit en tätningslist mellan huv och skärmarna. Medan jag fixade med sista skärmbreddarna så krängde han också i kärnan i tätningslisten på fram- och bakrutan. Vi hade misslyckats med att skapa ett snajsigt verktyg, men att köpa rätt verktyg gjorde jobbet hundra gånger enklare.
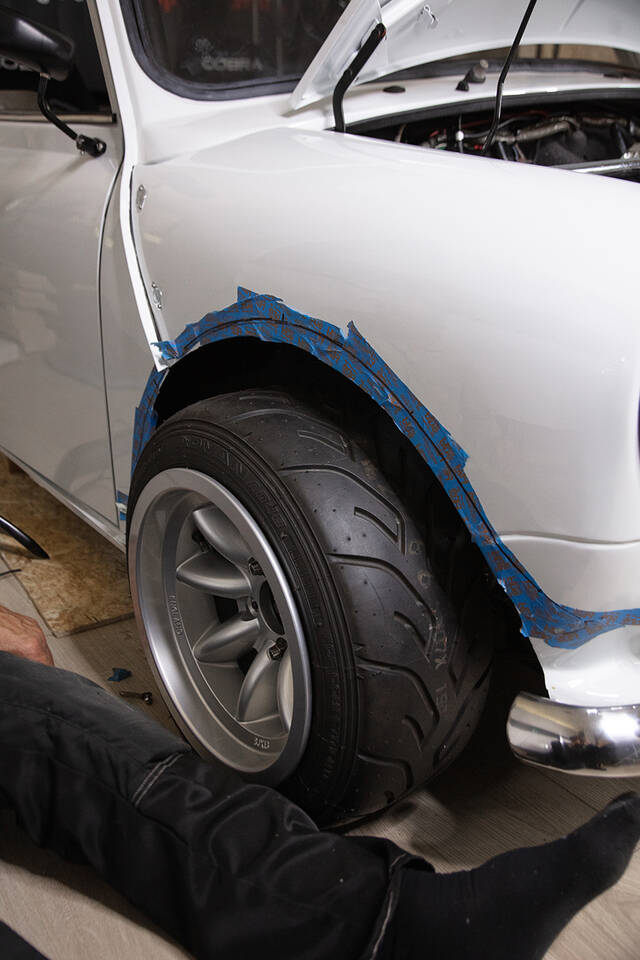
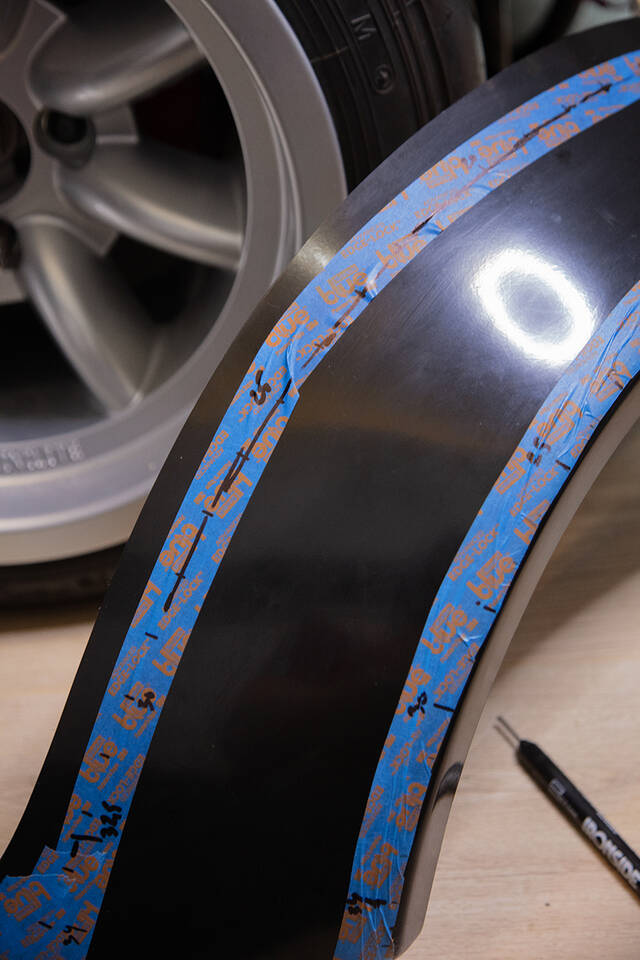
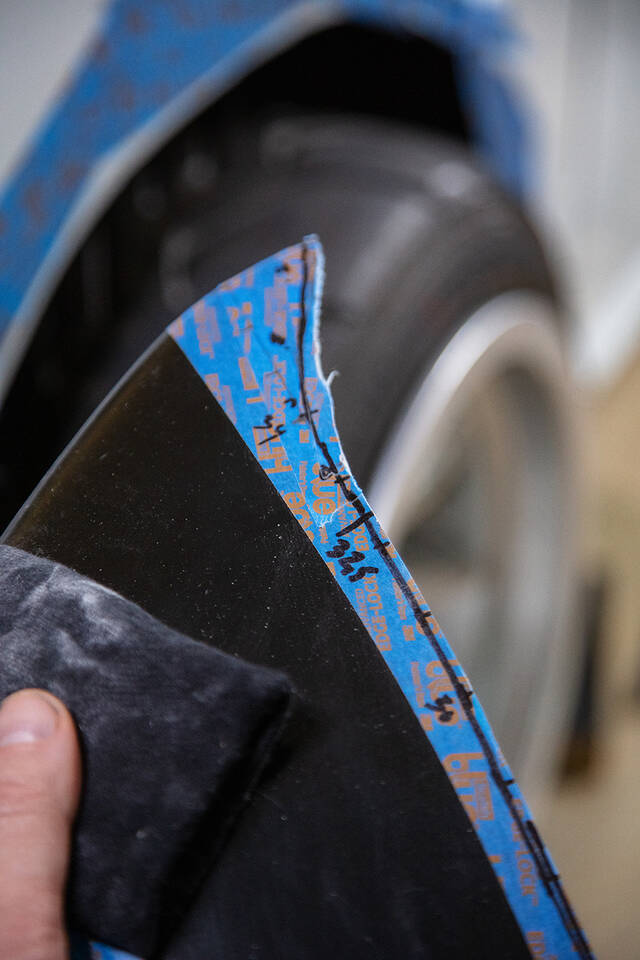
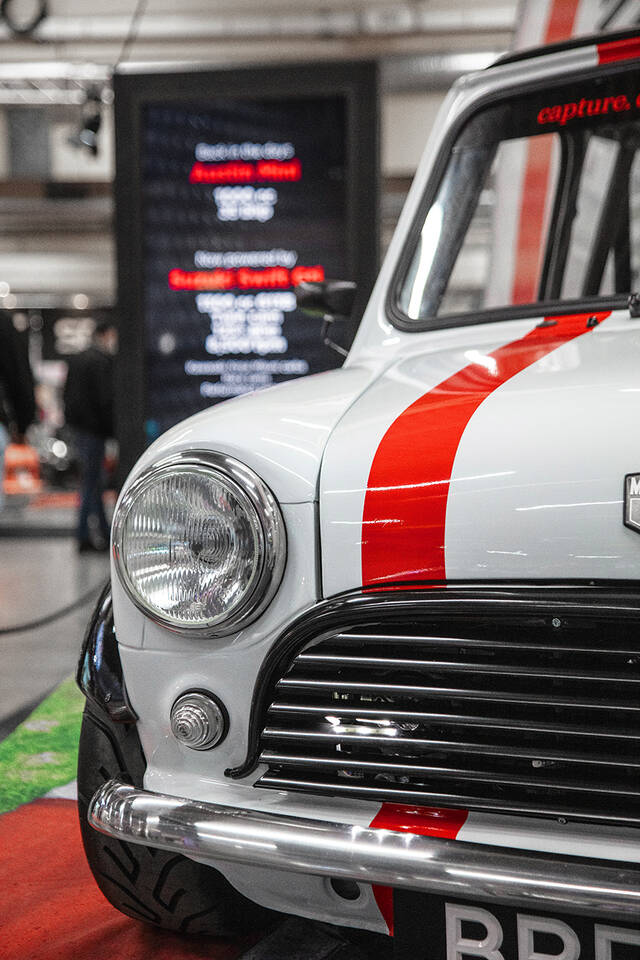
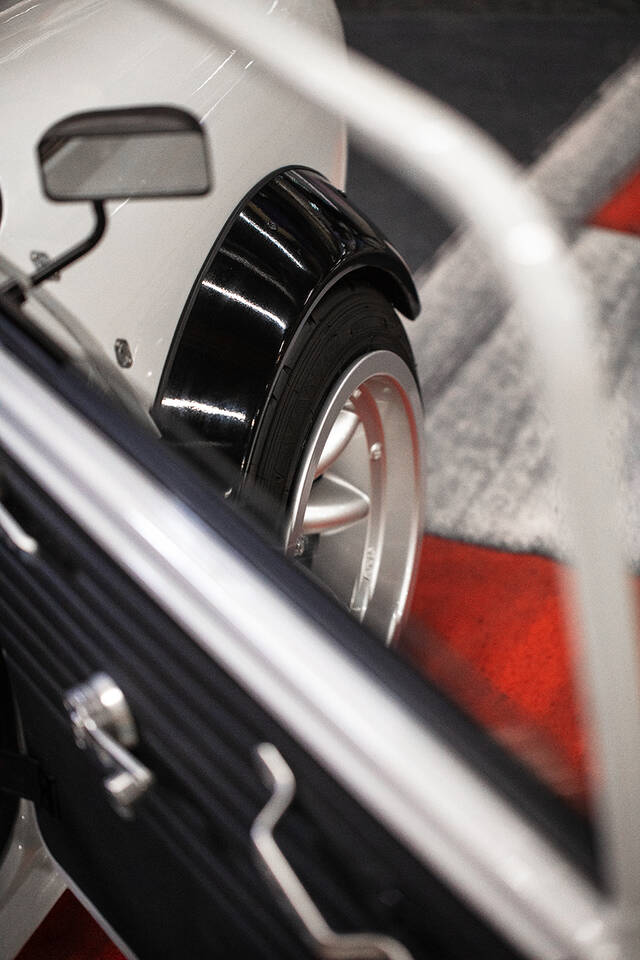
Efter att ha fått ner bilen på parkettgolvet och låtit den vila litegrann så gick jag vidare med att mäta in vart de främdre skärmbreddarna skulle sitta. Finlir, finlir och finlir. Detta måste bara bli rätt! Har sett alltför många hundkojor med "Miglia wheel arches" där ägarna inte ens har justerat och anpassat bredden eller passformen. Och då ser det inte klokt ut må jag säga.
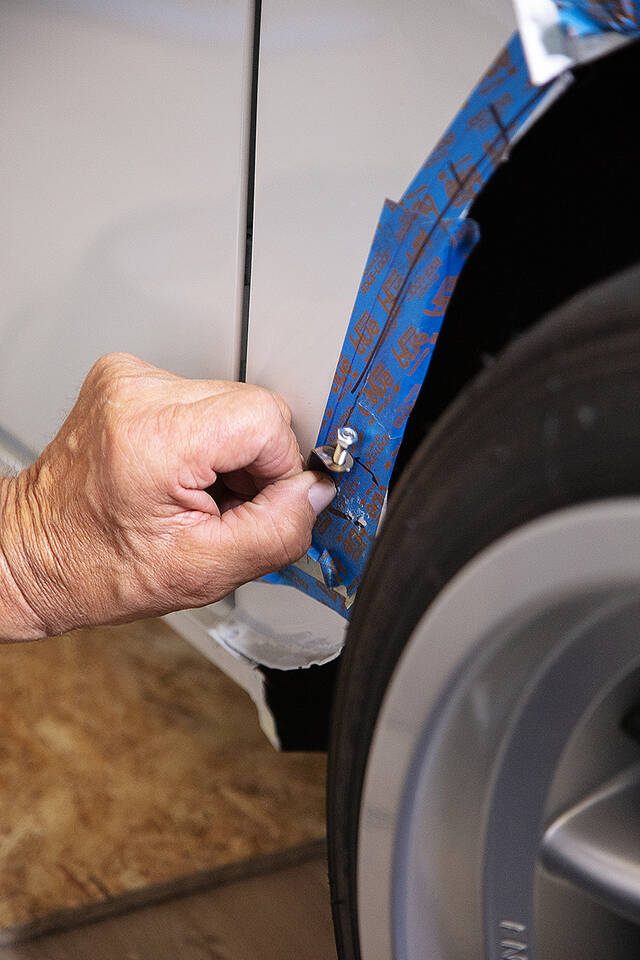
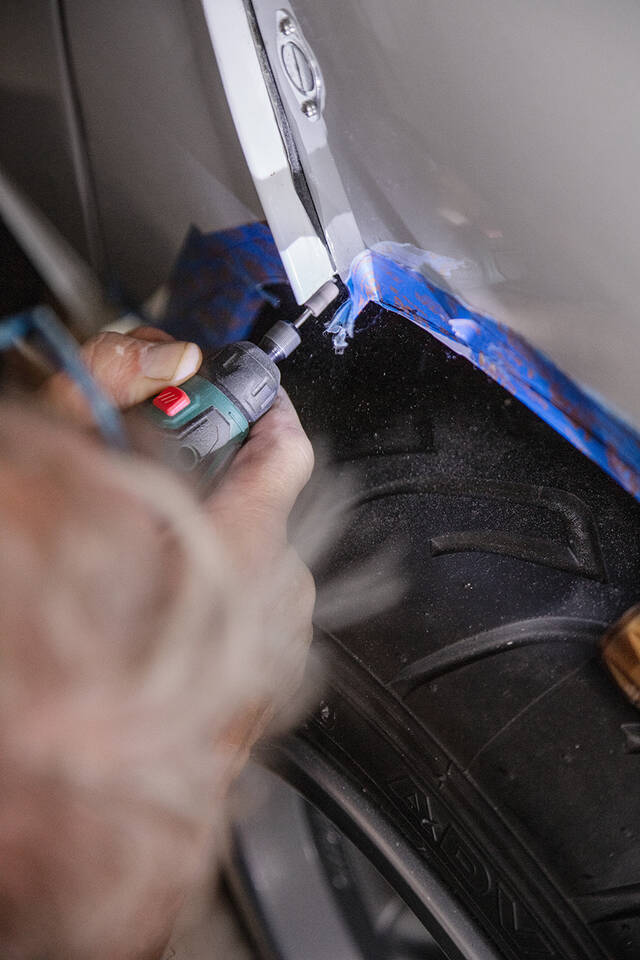
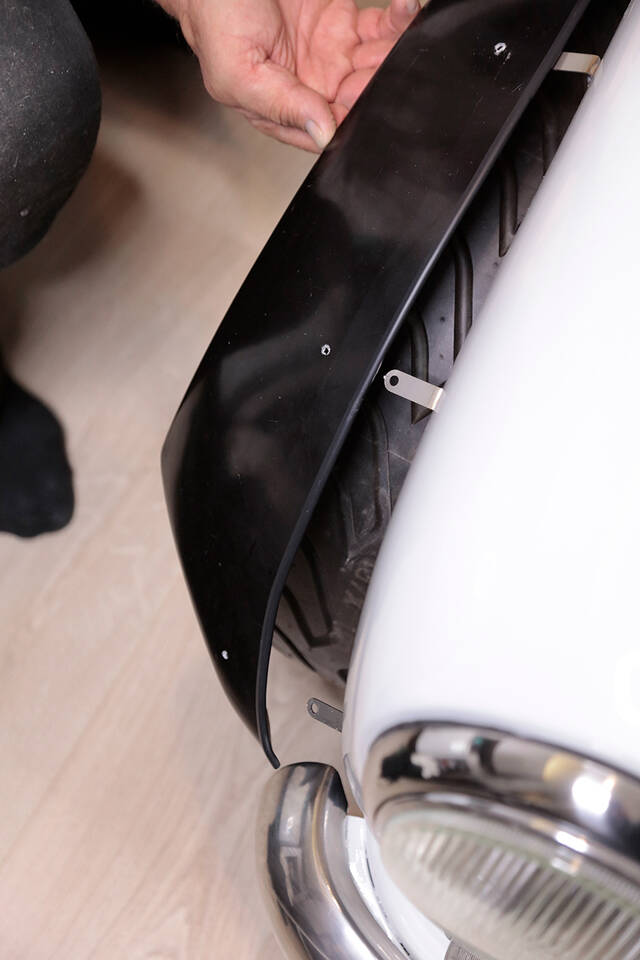
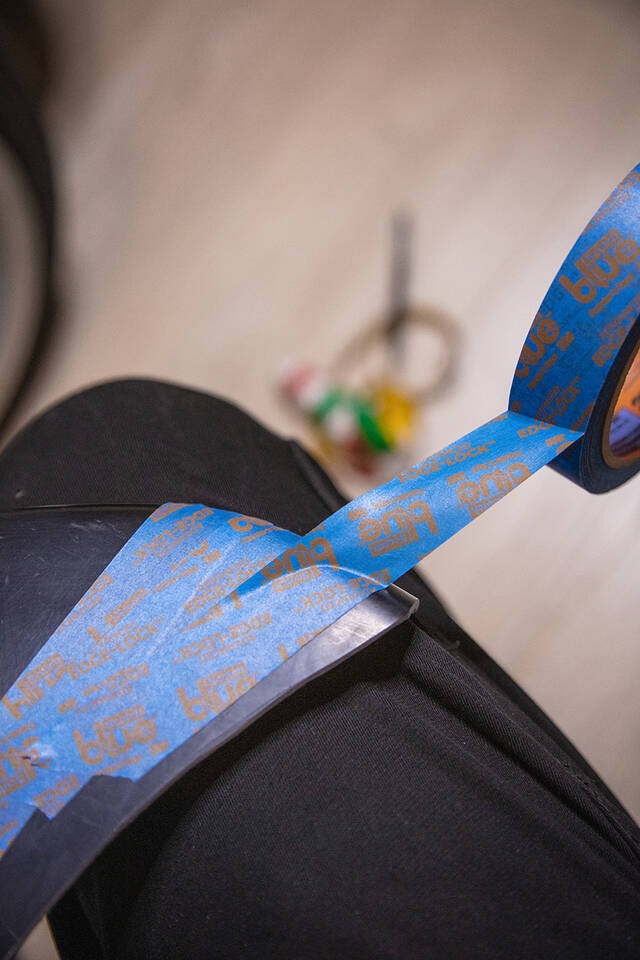
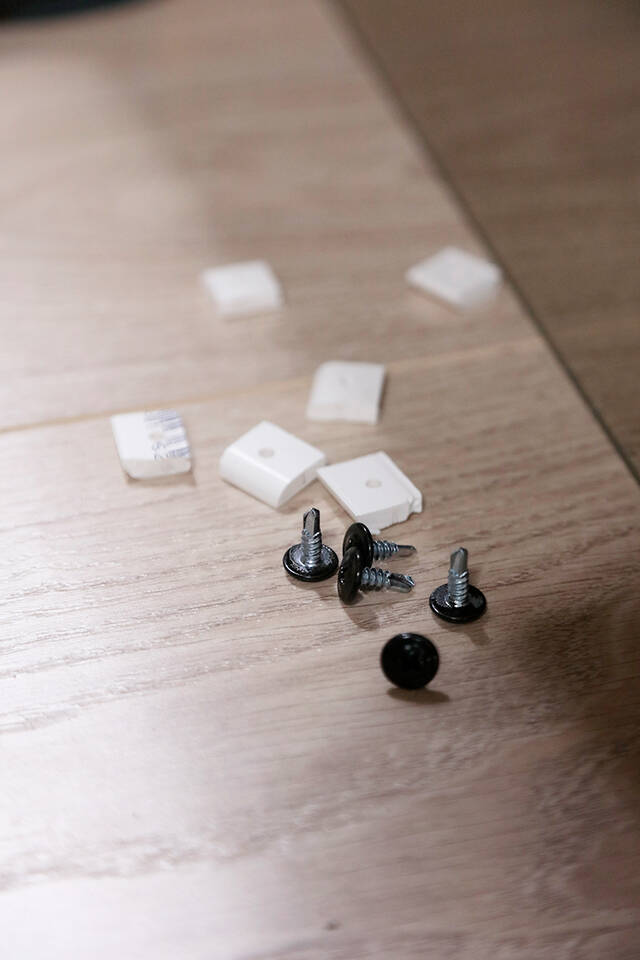
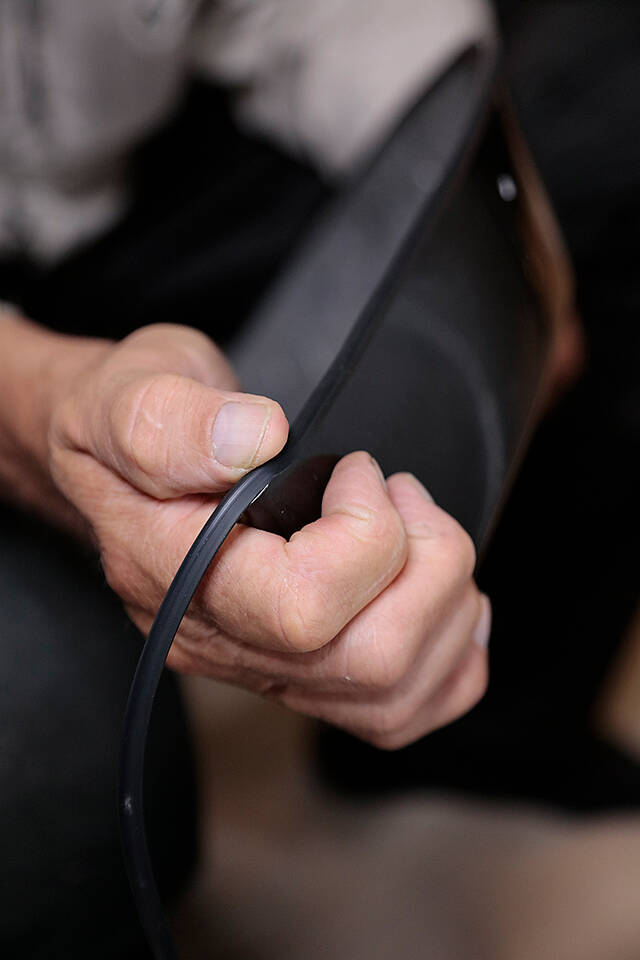
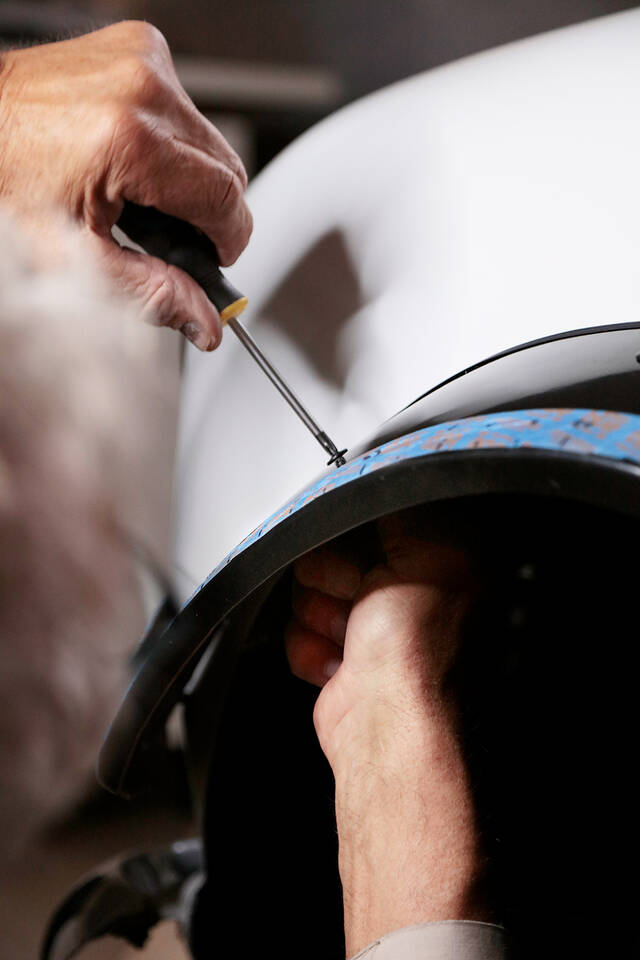
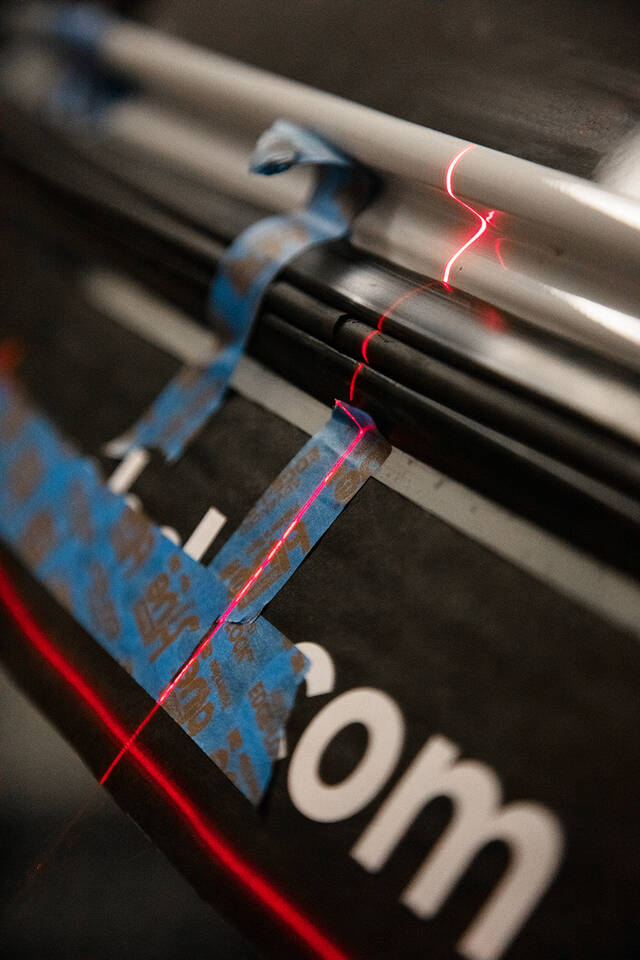
Efter ytterligare några timmars petigt arbete med att måtta, rita, böja, markera, borra, slipa mm så kunde vi smeka på gummilisten på skärmbreddarens kant och äntligen montera den på plats. Nu var det bara andra sidan också kvar att göra. Wehej! Tejpade upp förarsidans skärm och repeterade det jag nyss skrev. Tog hjälp av laserlod för att få skärmbreddarspetsarna på samma höjd. Sen skaffade jag ett badrumshörnskydd som jag kapade i småbitar som skulle tjäna som fästbrickor till montageskruvarna. Sen så... monterade vi även den sista skärmbreddaren!
Kvar återstår en del småsaker och sådana vet jag av erfarenhet att de kan dra ut på tiden. Så ingen rast, ingen ro! Känns bra att vi bockat av många viktiga punkter från listan de senaste två dagarna.
På återseende!
TRANSLATION Reply to post: Great that you're exhibiting :-)
Oh wow, the lamp of diligence is shining! My dad and I were busy alternating between preparing things for the booth at Bilsport Custom Motor Show in Jönköping over Easter and actually trying to complete the build so that we can indeed showcase the little Mini.
The previously purchased and painted rear door wasn't in the best condition; it wasn't a genuine rear door, which was bitterly realized after it was painted. Uneven surface, making it look terrible despite the fine paint job. Nevertheless, I bought a genuine rear door about a year ago and contacted the paint shop a week ago. Boom, ready in two days! Nice. So, it was time to disassemble the trim panel, license plate light, and trunk handle. And just as swiftly, assemble these on the new rear door. Smack, there it was in place!
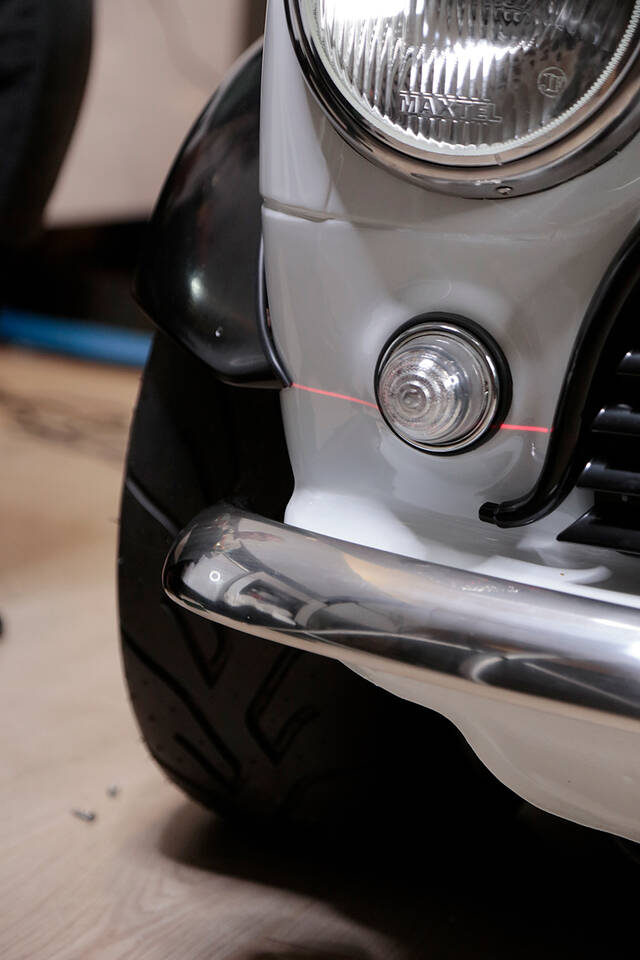
I had improved the hinge attachment for the flip front, and now it was finally time to get the front part of the car in place. Ahh, lovely to see it in its entirety. My dad connected the electrical wiring for the hazard lights, hood opener, and added a sealing strip between the hood and the fenders. While I worked on the final fender flares, he also installed the core of the sealing strip on the front and rear windows. We had failed to create a clever tool, but buying the right tool made the job a hundred times easier.
After lowering the car onto the parquet floor and letting it rest for a while, I proceeded to measure where the front fender flares should sit. Precision work, precision work, and precision work. This just has to be right! I've seen too many Minis with 'Miglia wheel arches' where the owners haven't even adjusted or adapted the width or fit. And then it looks downright strange, I must say.
After a few more hours of meticulous work measuring, drawing, bending, marking, drilling, sanding, etc., we could finally apply the rubber strip to the fender flare's edge and install it in place. Now, we just had to do the other side too. Hurray! Taped up the driver's side fender and repeated what I just wrote. Used a laser level to ensure the fender flare tips were at the same height. Then I got a bathroom corner guard, cut it into small pieces to serve as mounting washers for the screws. Then... we also mounted the last fender flare!
A few small things remain, and I know from experience that these can take time. So, no rest, no peace! Feels good that we've ticked off many important points from the list over the past two days.
Until next time!
![https://www1.garaget.org/gallery/images/219/218366/218366-8b83058cfd137dfa6045499195c45400.jpg]()
![https://www1.garaget.org/gallery/images/219/218366/218366-190f5be566acad93fb5a4400c4c75865.jpg]()
![https://www1.garaget.org/gallery/images/219/218366/218366-23c98aba2a7f58831f84354e11920c53.jpg]()
![https://www1.garaget.org/gallery/images/219/218366/218366-bc010f731757677018fe2bf4b707d3f3.jpg]()
![https://www1.garaget.org/gallery/images/219/218366/218366-7d0e542058177dbecbe0ba2145c9da68.jpg]()
![https://www1.garaget.org/gallery/images/219/218366/218366-08f2f893017880fc1e7bc4500d6d13e4.jpg]()
![https://www1.garaget.org/gallery/images/219/218366/218366-4912c222a653f77f415f73cd72c8fe06.jpg]()
![https://www1.garaget.org/gallery/images/219/218366/218366-7d3ec14a4a1fb15ecec56570f2d969ab.jpg]()
![https://www1.garaget.org/gallery/images/219/218366/218366-e439d34e2276ff527b0c2b4a4f888516.jpg]()
![https://www1.garaget.org/gallery/images/219/218366/218366-f439ad746537bd4fd28a83cdd942ea03.jpg]()
![https://www1.garaget.org/gallery/images/219/218366/218366-1cc2281e182c47fbab19057b486c04bb.jpg]()
![https://www1.garaget.org/gallery/images/219/218366/218366-a1e0cb27e10c7aaebdb0d5a6dbf156d1.jpg]()
![https://www1.garaget.org/gallery/images/219/218366/218366-e4f793c03e07de1a4a00d8b0d7e0c727.jpg]()
![https://www1.garaget.org/gallery/images/219/218366/218366-05467cd9f4538b2db682e9a600ca9443.jpg]()
![https://www1.garaget.org/gallery/images/219/218366/218366-99651d277a9bed88a27aef4e63a10c09.jpg]()
![https://www1.garaget.org/gallery/images/219/218366/218366-b337a12bfb4ec7fafa1f0824201ca368.jpg]()
![https://www1.garaget.org/gallery/images/219/218366/218366-b8b668afdc9746a1d385508f9fff29d5.jpg]()
![https://www1.garaget.org/gallery/images/219/218366/218366-7addc3ae3635a3173a72f4984ea7f14f.jpg]()
![https://www1.garaget.org/gallery/images/219/218366/218366-bcbf6ec4733c8fc29c8ea4902059eb6a.jpg]()
![https://www1.garaget.org/gallery/images/219/218366/218366-1ab8ad243cc98dfda91a45bd1a98ef7d.jpg]()
![https://www1.garaget.org/gallery/images/219/218366/218366-f8b2713992f068d4258e959c6e574fbc.jpg]()
![https://www1.garaget.org/gallery/images/219/218366/218366-3552cda8c9bff4bbc87109b8aab6e488.jpg]()
![https://www1.garaget.org/gallery/images/219/218366/218366-e38eaf73dc777dd397f4ee232ecc22f9.jpg]()